All Occasion
-
Stampin’ Up! Ice Cream Swirl All Occasion Card
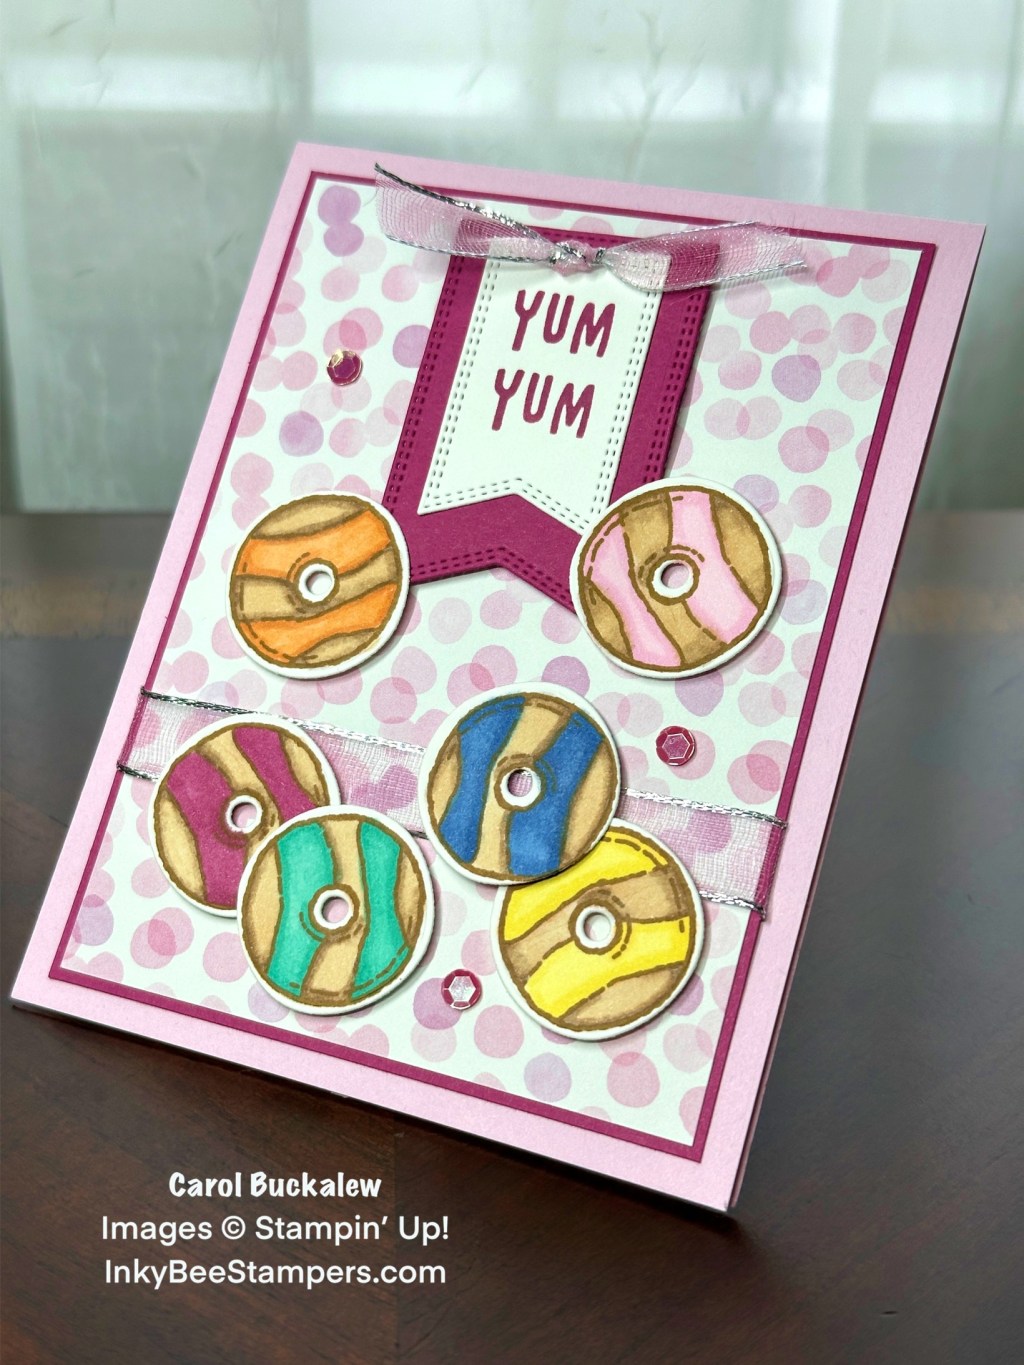
I have a fun and easy card for you today using the Ice Cream Swirl Bundle and the Bright & Beautiful 6″ x 6″ Designer Series Paper. This card comes together quickly and would be great to send to a friend to wish them a great day! I selected a panel of the Bright &… Continue reading
-
Stampin’ Up! Layering Leaves Sending Hugs Card
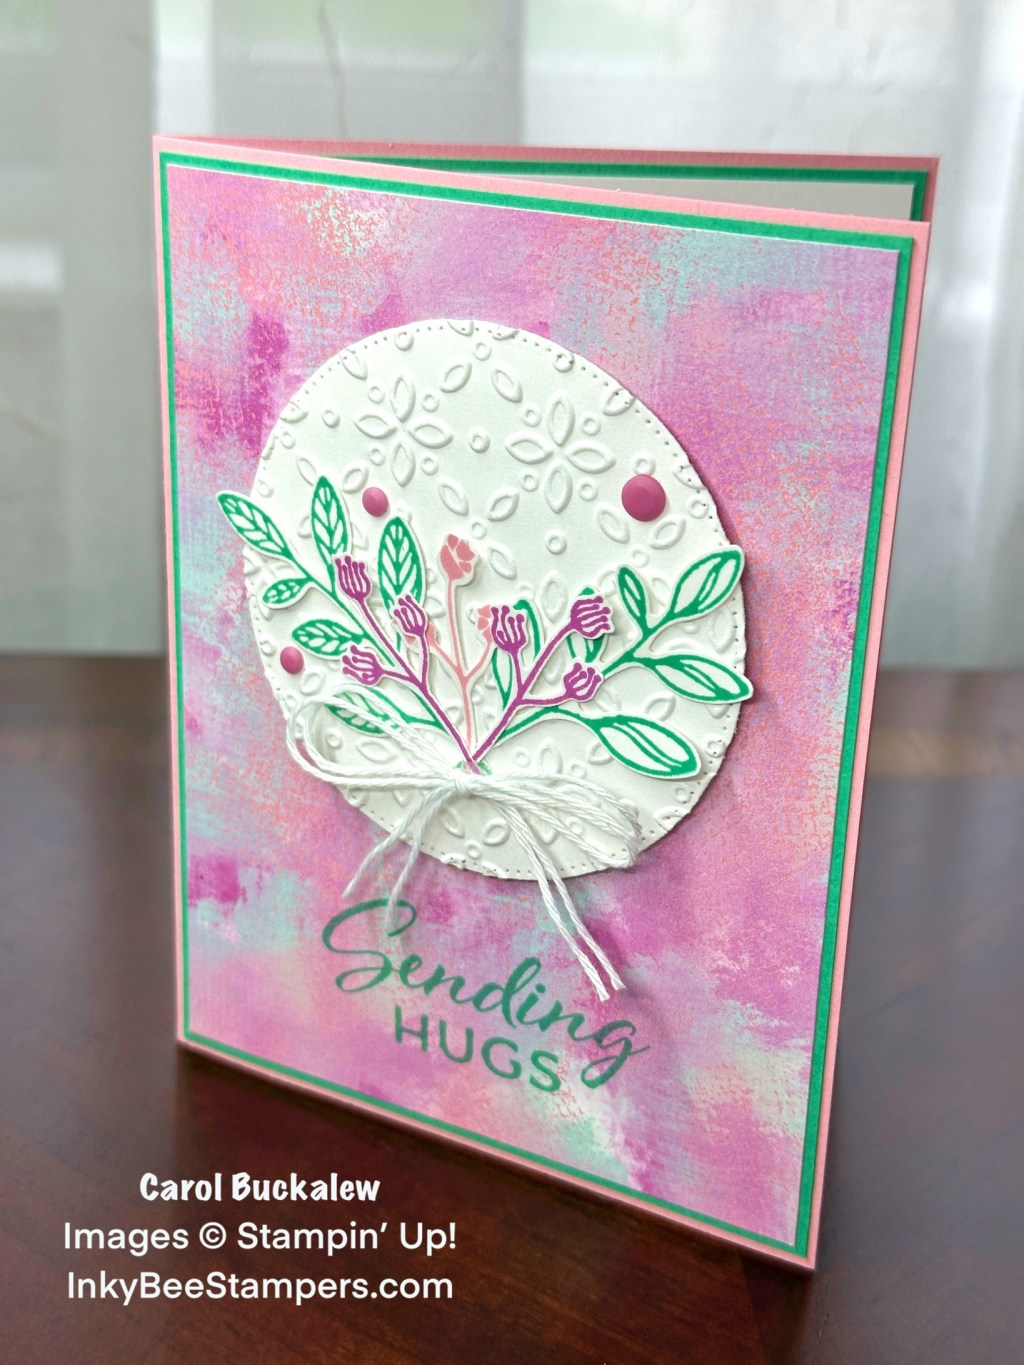
Today’s card blends the old with the new. The Layering Leaves Stamp Set and Bough Punch will be carrying forward in the 2024-2025 Annual Catalog (yay!) and the Eyelet 3D Embossing Folder and Unbounded Beauty 12″ x 12″ Designer Series Paper which were used on this card are new items which will be available on… Continue reading
-
Stampin’ Up! Latte Love Let’s Catch Up Card
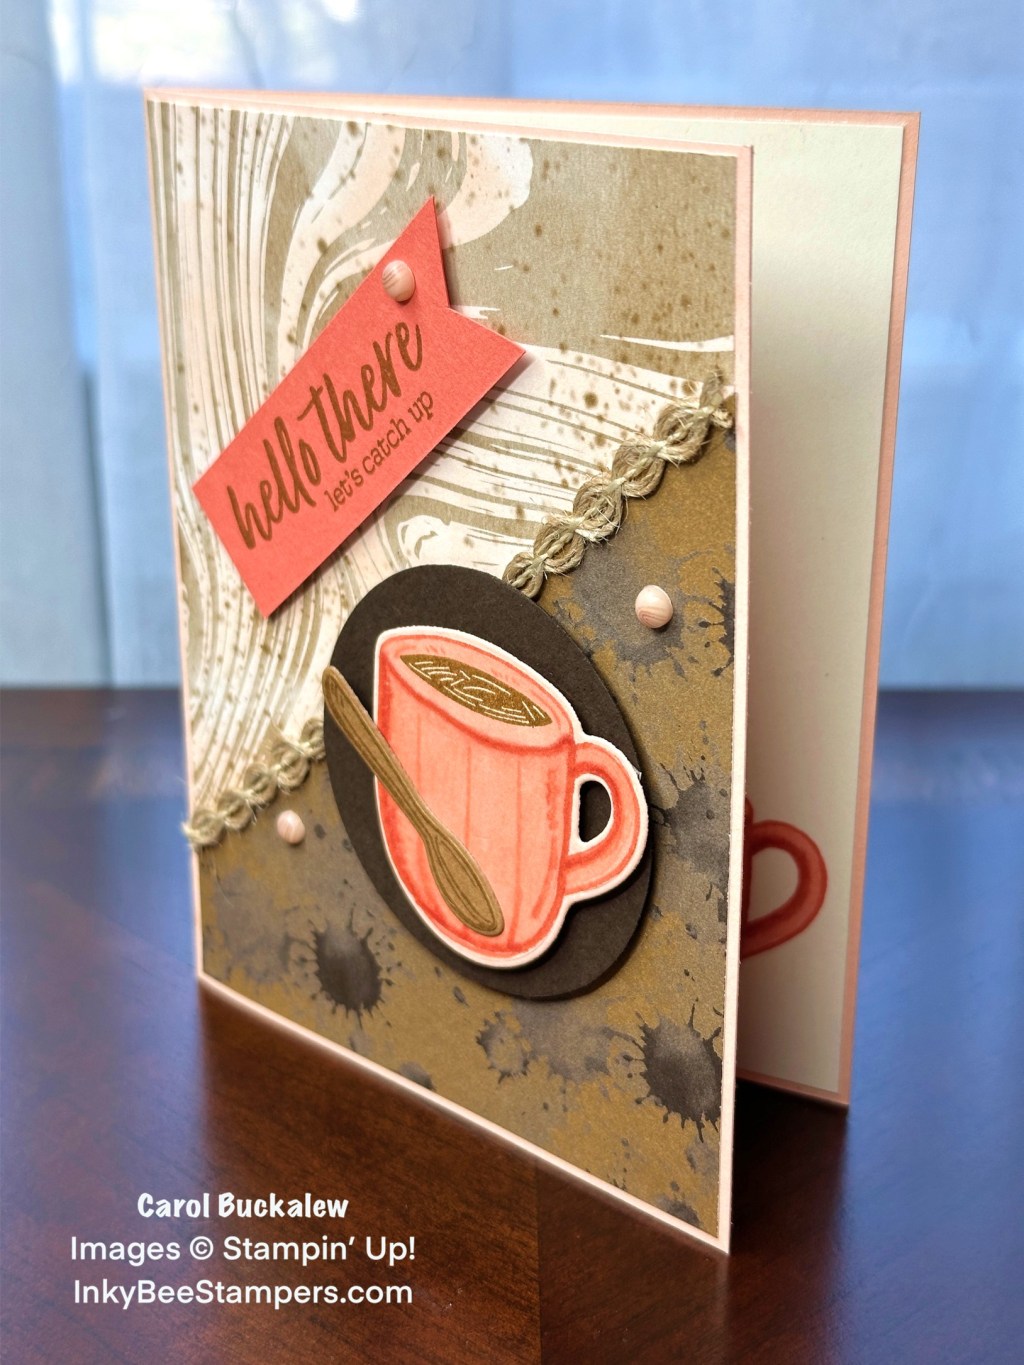
The products in the A Little Latte Suite Collection are so much fun and perfect for creating cards to send to your coffee and team drinking friends! For today’s card I used the Latte Love Bundle and the A Little Latte 12″ x 12″ Designer Series Paper. The products in the A Little Latte Suite… Continue reading
-
Stampin’ Up! Forever Forest Winter Wishes Card
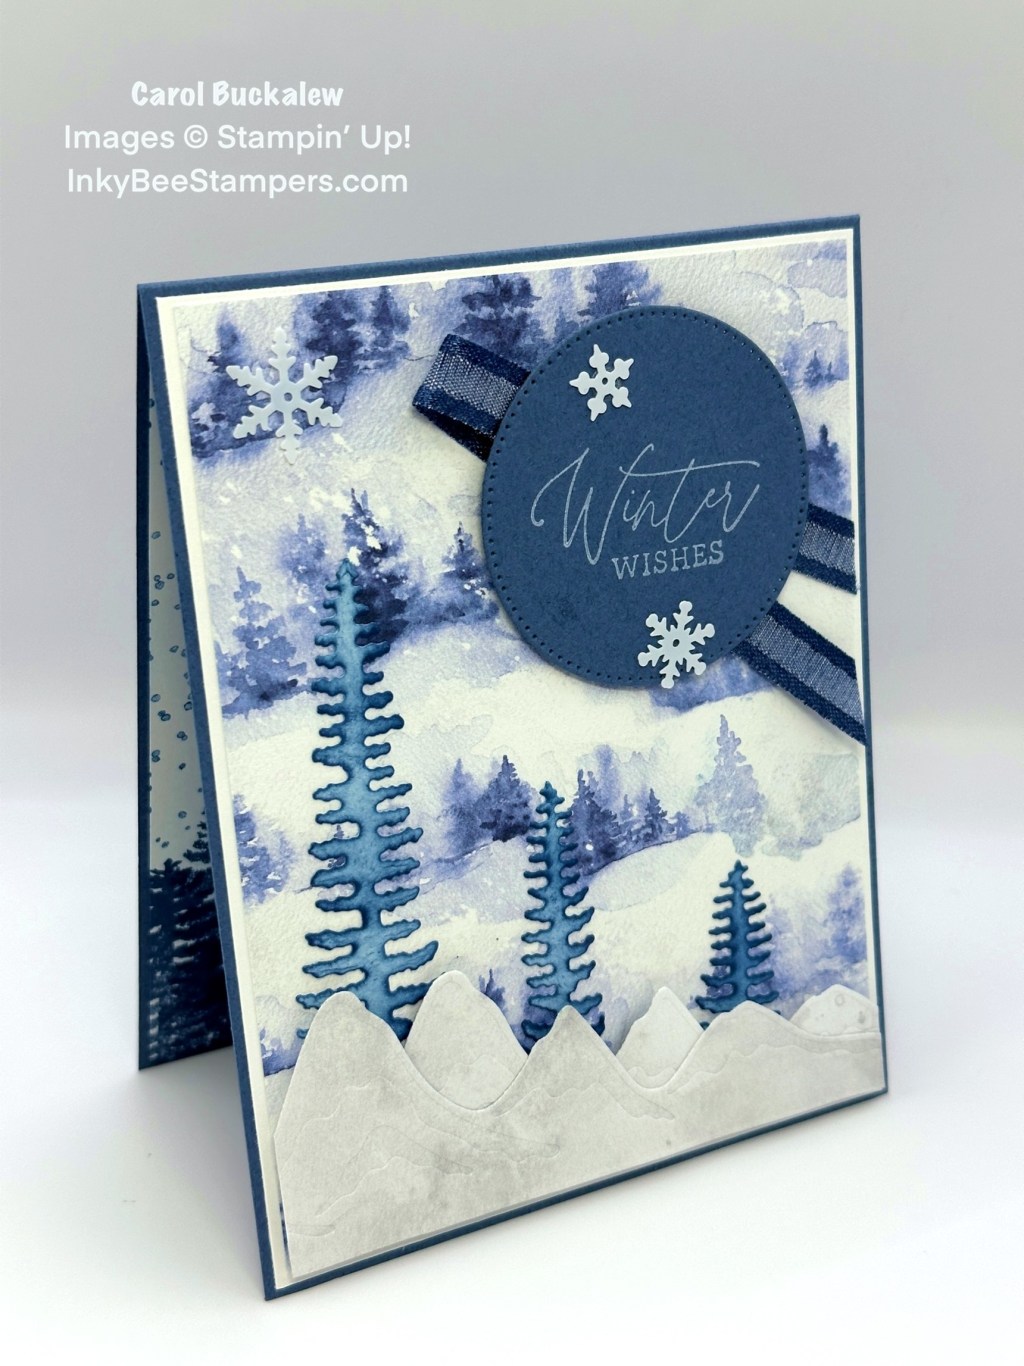
I love a beautiful mountain scene! Today’s card was created using the Forever Forest Bundle and pretty Misty Moonlight pine tree print from the Winter Meadow 12″ x 12″ Designer Series Paper pack. I’m nearly out of this beautiful paper and will be ordering more! I used the mountain Dies from the Forever Forest Dies… Continue reading
-
Stampin’ Up! Beary Cute & Merriest Trees Gift Card Holders

I have a couple of fun projects for you today! Are you purchasing gift card holders around the holidays and paying way too much for them? You can make your own adorable gift card holders at home for a lot less. I’m sharing two gift card holders with you today that are easy and quick… Continue reading
-
Stampin’ Up! Inked & Tiled All Occasion Card
Happy Friday my crafty friends! I hope everyone is doing well and you’re ready to enjoy the weekend! Today’s card uses the Inked & Tiled Stamp Set, Inked Botanicals Designer Series Paper, Countryside Corners Dies and the Twisted Rope 3D Embossing Folder. I love the blue-green shades together on this card (Pool Party, Lost Lagoon… Continue reading
-
Stampin’ Up! Fresh Cut Flowers All Occasion Card – Easy & Quick!
Continuing to focus on upcoming retiring items, I created today’s card using the Fresh Cut Flowers Stamp Set, Layering Circles Dies, Matte Black Dots, and the Black & White Gingham Ribbon. The Fresh Cut Flowers Stamp Set, Layering Circles Dies and the Matte Black Dots will be retiring at the end of this month! Grab… Continue reading
-
Stampin’ Up! Alphabet A La Mode All Occasion Card
I pulled out the Alphabet A La Mode Dies set, the Cup of Tea Bundle and the pretty Tea Boutique 6″ x 6″ Designer Series Paper to create this All Occasion Card. I love the versatility of the Alphabet A La Mode Dies as you can create any sentiment that you would like! I chose… Continue reading
-
Stampin’ Up! On the Farm All Occasion Card
Even though the Day at the Farm Designer Series Paper is no longer available through Sale-A-Bration, you can still make an adorable card using the On the Farm Stamp Set and On the Farm Dies! I made an All-Occasion card, but you can easily make this into a birthday card, friendship card, or thinking of… Continue reading

Latest Posts
- Stampin’ Up! Market Goodness Thank You Card
- Stampin’ Up! In the Grove Birthday Card for the Happy Inkin’ Thursday Blog Hop
- Stampin’ Up! Round We Go Celebration Card
- Stampin’ Up! Gone Fishing Masculine Retirement Card for Amy’s Inkin’ Krew Team Blog Hop!
- Stampin’ Up! Spotlight on Nature Note Card
Categories
- #Fun Fold
- #Gift Card Holder
- #Kits Collection
- #Paper Pumpkin
- #Quick&EasyOptions
- #SimpleStamping
- Adventure
- All Occasion
- All Occasion Cards
- Anniversary
- Appreciation Cards
- Baby
- Best Wishes
- Birthday Cards
- Bonus Days
- Celebration
- Children's Cards
- Christmas Cards
- Clearance Rack
- Congratulations
- Easter Cards
- Encouragement Cards
- Fall Cards
- Father's Day
- Friendship
- Get Well Cards
- Gift Box
- Gift Tags
- Good Luck Cards
- Graduation Cards
- Gratitude
- Halloween
- Holiday Cards
- In Color Cards
- Just Because
- Just Because Cards
- Kits Collection
- Last Chance Products
- Love
- Masculine Cards
- Memories and More Cards
- Mother's Day Cards
- Motivational Cards
- Note Cards
- Online Exclusives
- Paper Projects
- Paper Pumpkin
- Paper Share
- Retirement Cards
- Spring Cards
- St. Patrick's Day Cards
- Sympathy
- Thank You Cards
- Thanksgiving Cards
- Thinking of You Cards
- Uncategorized
- Valentine's Day Cards
- Wedding
- Welcome
- Welcome Baby
- Winter
- Wish You Were Here
Archives
- May 2024
- April 2024
- March 2024
- February 2024
- January 2024
- December 2023
- November 2023
- October 2023
- September 2023
- August 2023
- July 2023
- June 2023
- May 2023
- April 2023
- March 2023
- February 2023
- January 2023
- December 2022
- November 2022
- October 2022
- September 2022
- August 2022
- July 2022
- June 2022
- May 2022
- April 2022
- March 2022
- February 2022
- January 2022
- December 2021
Disclaimer
The content in this blog is the sole responsibility of Carol Buckalew as an Independent Stampin’ Up! demonstrator and the use of and content of classes, services or products offered is not endorsed by Stampin’ Up! All Stampin’ Up! images are ©Stampin’ Up! 2023-2024.
