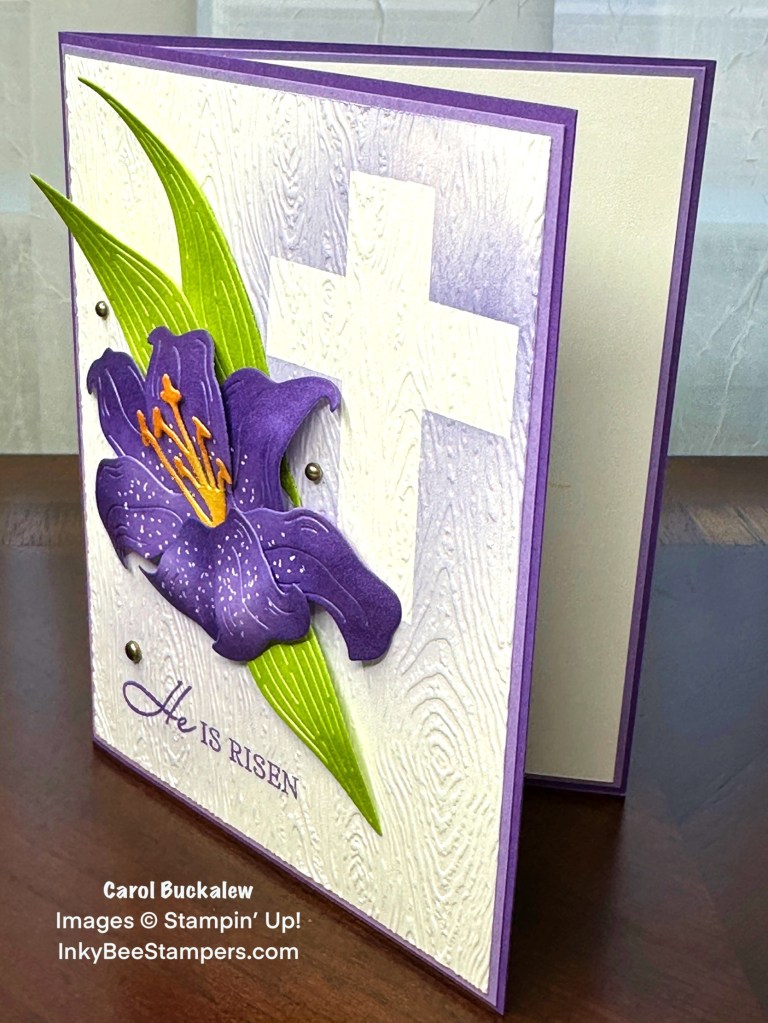
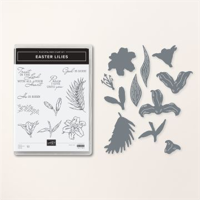
Happy Friday! I created this card using the Easter Lilies Stamp Set, Timber 3D Embossing Folder, as well as some masking, blending and fussy cutting! I originally created another card using both the Easter Lilies Stamp Set and the Easter Lilies Dies and then realized that the Easter Lilies Dies are currently unavailable. I hate when I forget to check inventory before creating a card for you! The plus is that you get two cards today – the card shown above using just the stamp set and the card at the bottom of this blog post using both the stamp set and dies. The Easter Lilies Dies are expected to be back in stock about mid-April. If you already own the Easter Lilies Dies…then you are all set!
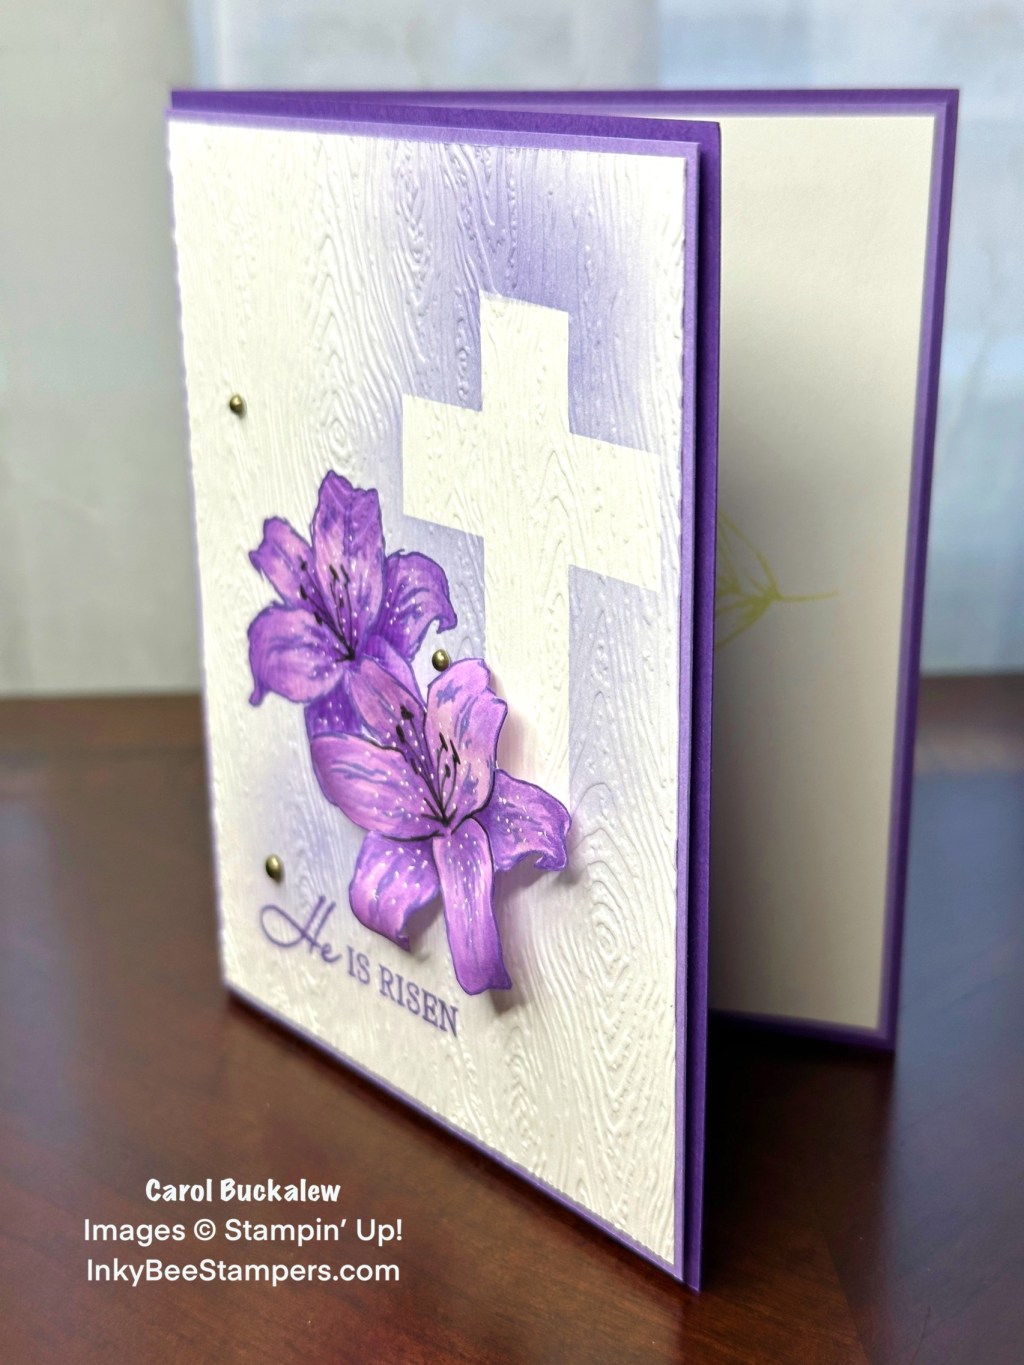
On a white panel measuring 5-1/4″ x 4″ I masked off a cross on the upper right of the panel using 1/2″ wide Washi Tape. 1/2″ wide Post It Tape or Masking Paper would also work. I used a Blending Brush to blend Highland Heather ink from the top right to the lower left of the panel, making sure to blend ink over the masked area, then I carefully removed the mask. The lily was stamped onto the panel just to the lower left of the cross in Gorgeous Grape ink. I used a Basic Black Stampin’ Write Marker to outline the stamen at the center of the flower. The entire lily was colored in using a Fresh Freesia Stampin’ Blend and then I darkened the tips and centers of each petal using Highland Heather Stampin’ Blends. To make the flower even more dramatic, I used a Blender Pen to blend Gorgeous Grape ink to create shadows behind the petals. This step helps to better define the petals. To complete the image, I used a white gel pen to dot each of the petals.
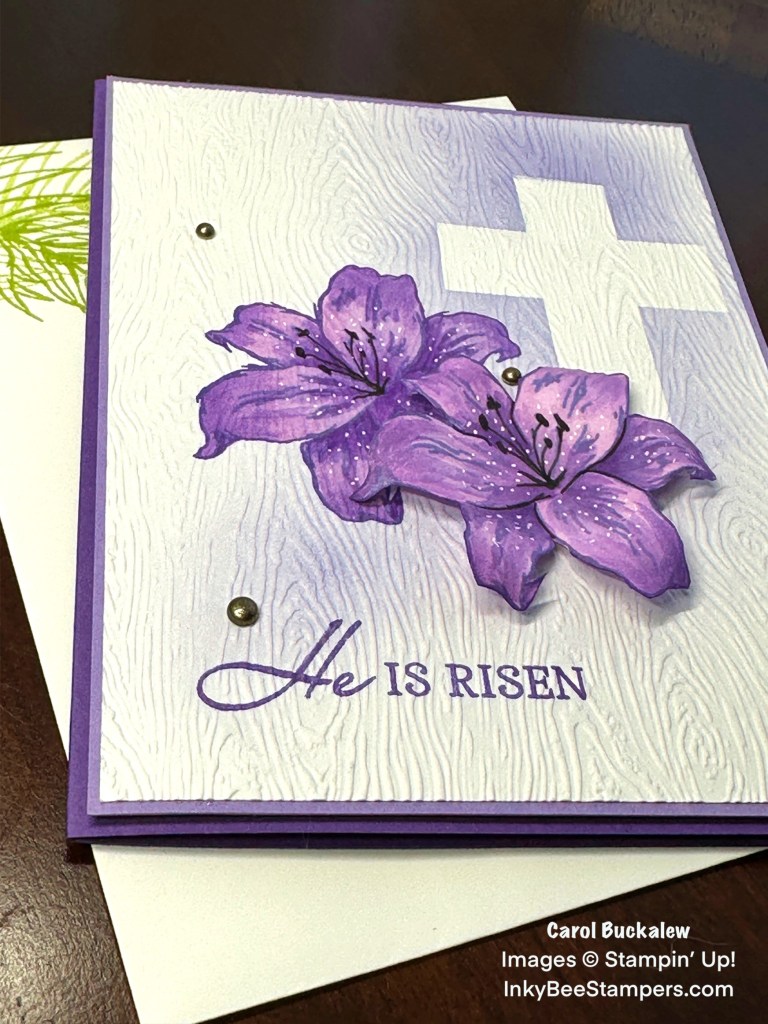
The “He is Risen” sentiment was stamped in Gorgeous Grape ink onto the lower left of the panel. I then used the Timber 3D Embossing Folder to emboss the panel. The panel was adhered to a Highland Heather mat, then adhered to the card front using Stampin’ Dimensionals.
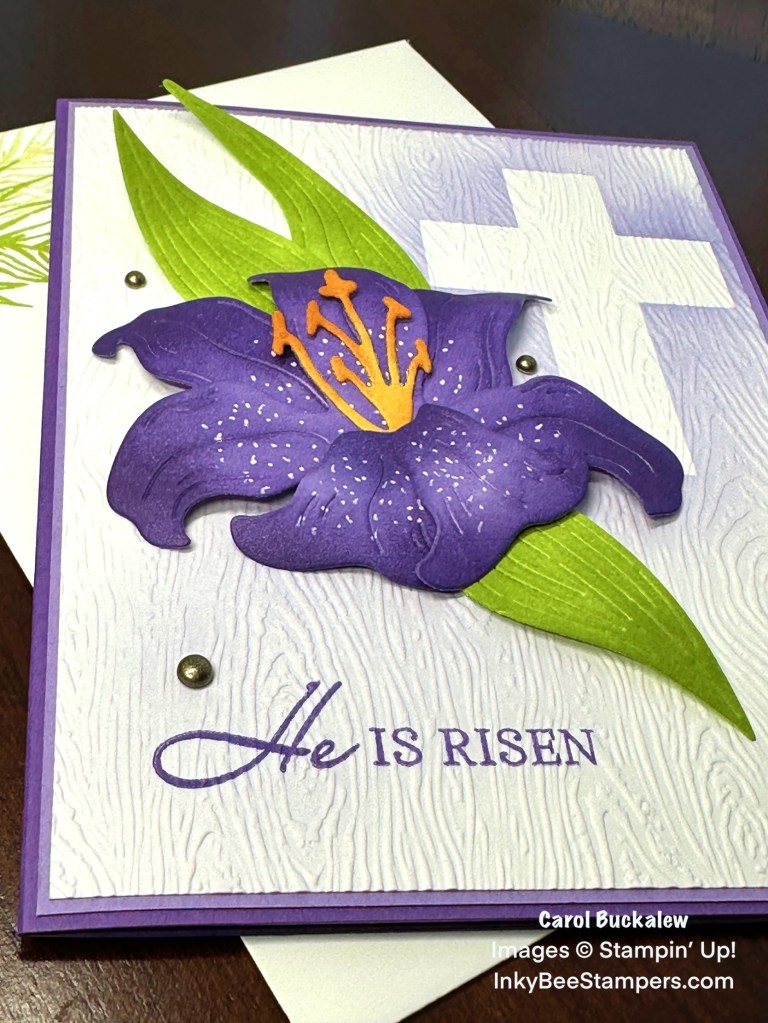
A second lily was stamped onto a scrap piece of Basic White cardstock in Gorgeous Grape ink. I colored the lily the same as I did the first lily. A pair of paper snips were used to fussy cut this second flower and the image was cut out right up to the stamped outline (no white border). I used a bone folder to curl the flower petals under, then adhered this fussy cut flower to the card front using Stampin’ Dimensionals. The flower was positioned so that it slightly overlaps the stamped flower on the panel at the lower right.
An additional sentiment was stamped onto the inside panel in Gorgeous Grape ink. The palm leaf image was second generation stamped in Granny Apple Green ink over the sentiment. The panel was then adhered to a Highland Heather mat, then adhered to the inside of the card.
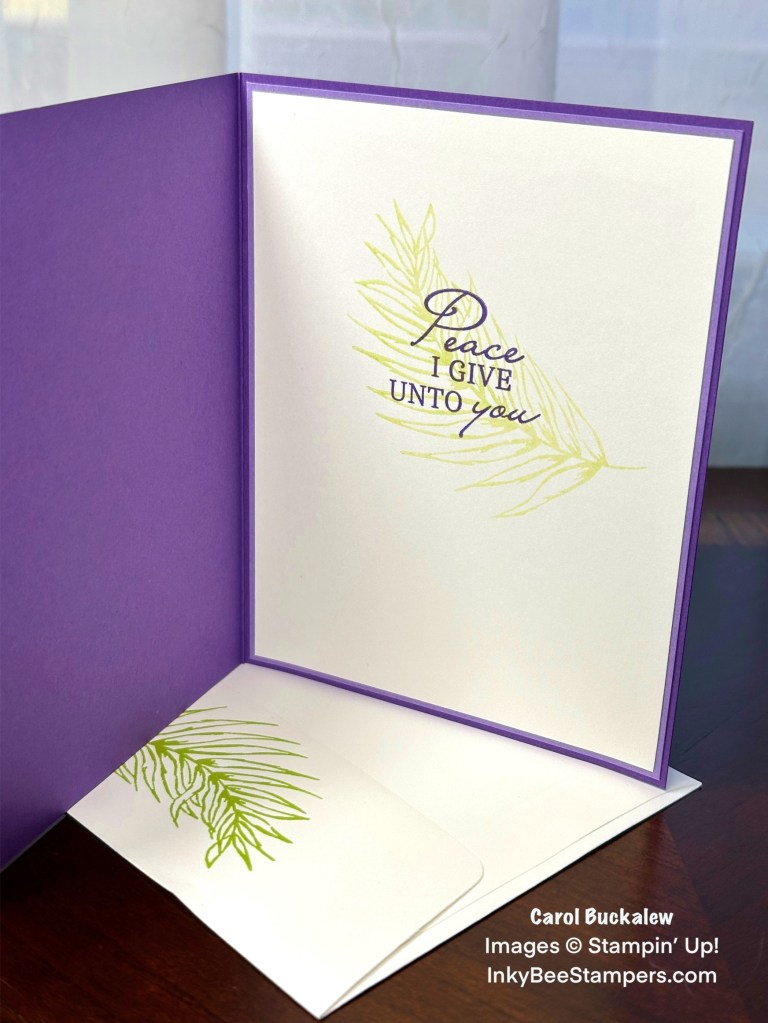
The same palm leaf image was first, and second generation stamped onto the envelope front and stamped once on the envelope flap in Granny Apple Green ink. I added three Rustic Metallic Adhesive-Backed Dots to the card front to finish up the project.
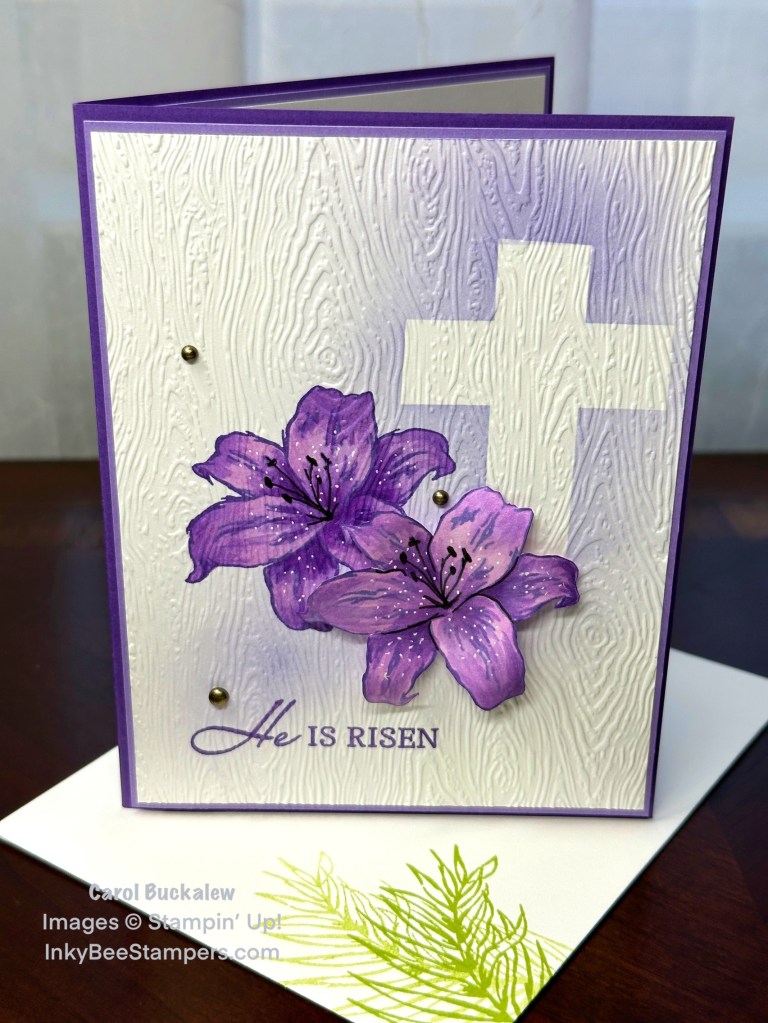
Here is Card #2 (the original card that I created):
The card front is basically the same except that I have a single die cut lily on the card front instead of stamped and fussy cut lilies. I used the Easter Lilies Dies to die cut the flower pieces from Highland Heather cardstock. The stamen was die cut from Crushed Curry cardstock and the leaves were die cut from Parakeet Party cardstock. I used a Sponge Dauber to darken the petal tips and bases of the lily using Gorgeous Grape ink. The centers of the petals were left lighter. The tips of the stamen were blended with Pumpkin Pie ink. The leaves were blended with Granny Apple Green ink – and again I left the centers of the leaves lighter.
A bone folder was used to curl the petals of the lily under and the flower was assembled using liquid glue. I used a white gel pen to dot each petal of the flower. I determined placement of the leaves then adhere these to the card front using liquid glue. The lily was adhered to the card front using Stampin’ Dimensionals. The remainder of the card was completed the same as the first card.
I really love how these cards turned out and I hope you’ll give this project a try! If you would like to recreate either of these cards you can download, save and print the pdf tutorial by clicking on the image below.

Have a wonderful day and a great weekend!
Last Chance Products Sale Begins on April 9!

The January–April 2024 Mini Catalog and the 2023–2024 Annual Catalog are retiring soon! It’s bittersweet to say goodbye to any catalog, but we’re looking forward to all the new products on their way—and we hope you are, too! Between April 9 through April 30 you can stock up on your favorite products and save up to 60% on essential craft supplies!
Please note that Last Chance Products will only be available while supplies last so if there is something you are really wanting, maybe purchase now, instead of waiting for the discount!
Here are the details:
Ordering Deadlines
Phone: 30 April 2024 at 6:59 p.m. (MT)
Online: 30 April 2024 at 11:59 p.m. (MT)
- There is a retiring list for the mini catalog and annual catalog. These lists detail the products that will no longer be available once the catalogs are gone (see below).
- Not all items on the Last Chance products List will be discounted. When they are, they will vary from one market to another depending on product performance.
- All products are available while supplies last, and there are no purchase limits.
- Discounted items can be added to a Starter Kit and redeemed as a 50% off item or with Stampin’ Rewards.
- Only orders opened and closed during the promotion period apply.
- Stamp sets are not guaranteed during this promotion and are while supplies last.
Here are the retiring lists for both the 2023-2024 Annual Catalog and the January-April 2024 Mini Catalog:
2023-2024 Annual Catalog
January-April 2024 Mini Catalog
- January-April 2024 Mini Catalog Retirement List pdf
- January-April 2024 Mini Catalog Retirement List – Sortable Excel File
New 2024-2025 Annual Catalog Coming May 1, 2024!
Retiring catalogs mean that we have a new catalog coming soon! Products from the 2024-2025 Annual Catalog will be available for customer purchase beginning on May 1, 2024! This is such an exciting time! Once I place my pre-order, I will be sharing projects with you here on my blog from some of the new, upcoming products…so stay tuned!
Of course, if you’d like to get your hands on these goodies early, consider becoming a demonstrator. Preorder for demonstrators for the new catalog begins on April 2! If you join now, you will be able to pre-order items from the new catalog (beginning on April 2) plus receive a 20% discount. This is a great way to save and get all of the pretty things at the same time! If this is something you are considering, you can find the link to my “Join My Team!” page by clicking here. Of course, you can always reach out to me if you have any questions!
April Paper Pumpkin Kit – Delicate Wings

Provide encouraging words of support with the April Paper Pumpkin Kit! In order to receive the Delicate Wings Kit you will need to subscribe to Paper Pumpkin no later than April 10. Subscriptions to Paper Pumpkin are offered in month-to-month subscriptions, or 3-, 6- or 12-month subscriptions! and you can cancel or pause your subscription at any time!
Here is what the Delicate Wings Kit includes:
- Makes 9 cards: 3 each of 3 designs with 9 coordinating envelopes
- Precut paper pieces and butterfly designs
- Champagne foil images, sentiments, and labels
- Coordinating colors: Lost Lagoon, Moody Mauve, Basic Beige, Basic Gray
- (Classic Stampin’ Spot), Basic Black, champagne foil
You can view the April, May and June Paper Pumpkin kit flyer by clicking here! Hint…viewing the flyer gives you a glimpse of the upcoming kits for May and June also!
As an Add On, you can purchase the Thanks and Beyond coordinating dies for this kit! These dies will coordinate with the April, May and June Paper Pumpkin Kits #164397)! The dies help to add dimension to your projects. Note that you must be a current Paper Pumpkin subscriber to order this add-on. Add-Ons are while supplies last.

Subscribing to Paper Pumpkin
Not a Paper Pumpkin subscriber yet? What are you waiting for? Subscribe to Paper Pumpkin today to receive your very own all-inclusive crafting kit each month. Kits include card projects, tags and gift packaging! When I say the kits are all-inclusive, that is exactly what I mean. You will receive everything in your kits that you will need to complete the projects, including ink, paper, adhesives and embellishments! Click on the image below to subscribe to Paper Pumpkin today!
Two New Kits Added to the Kits Collection!
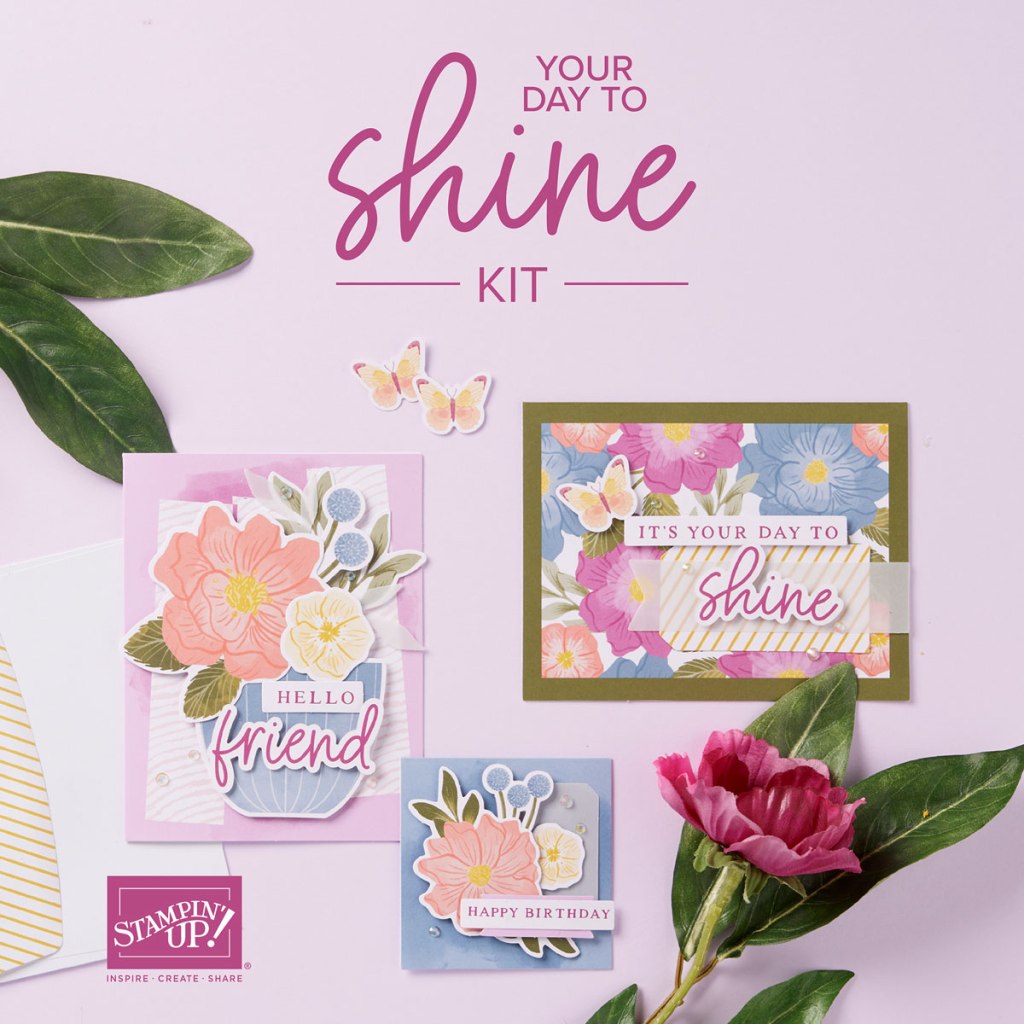
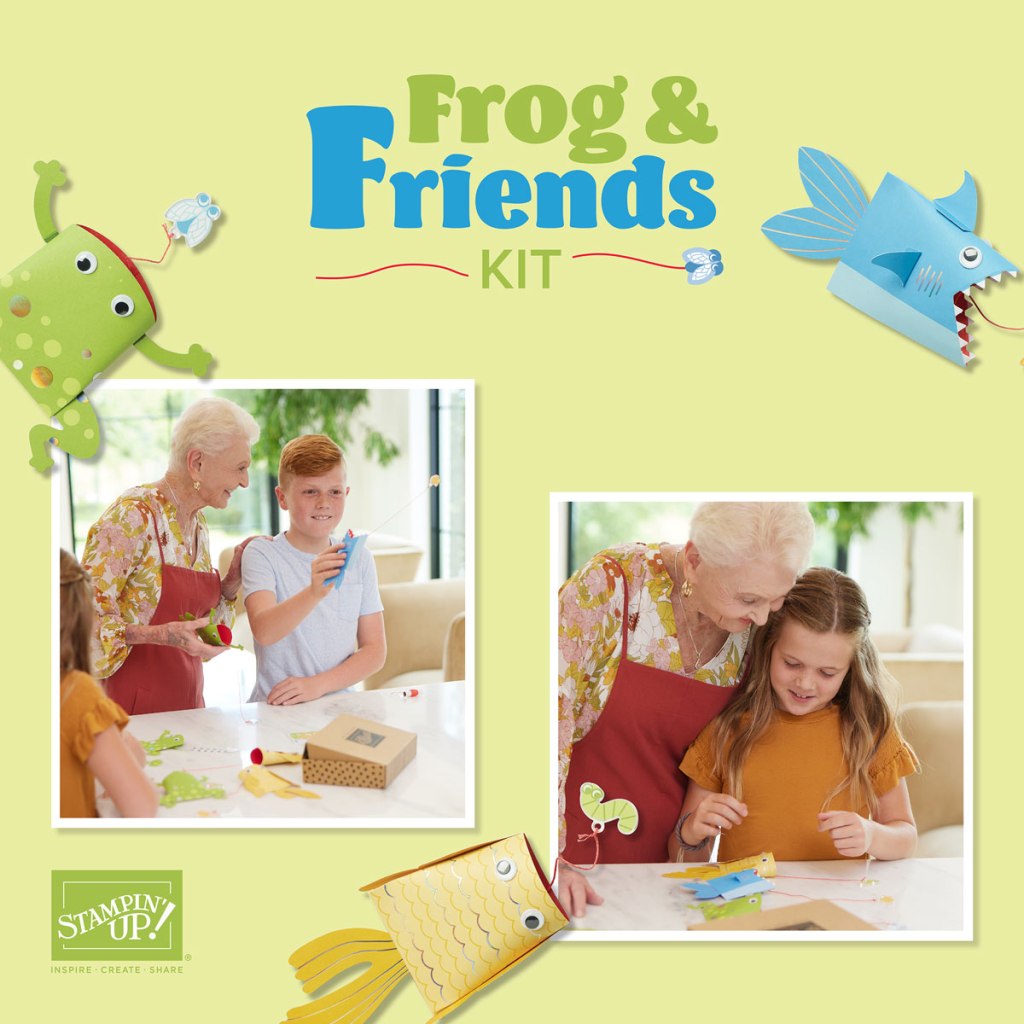
Two new kits have been added to the Kits Collection! The Your Day to Shine Kit and the Frog & Friends Kit! In case you hadn’t heard, Stampin’ Up will be adding two new kits at the beginning of each month. That means more crafting opportunities for you!
The kits in our Kits Collection are all-inclusive. Everything you need to complete the project is included in the box including instructions on how to assemble the project, or you can put your own spin on it. You can find the Kits Collection by visiting the Online Exclusives section of the online store, or by searching Kits Collection in the search bar of the online store.
You can expect that the collection of kits will frequently change as new kits are released and as older kits are retired. Click here to view the current kits in the Kits Collection. This link will take you to my online store. Happy shopping!
In case I need to convince you a little more…here is an unboxing video for the Frog & Friends Kit. This adorable kit is perfect for children and they can even play a game with the finished projects! This kit would also be great for children’s birthday parties…just saying!
March Host Code

Use my current Host Code and receive a free gift from me valued at $8 when you place an order of $35 or more (before shipping and tax). If you place an order greater than $150, do not use the Host Code as you will be eligible for Stampin’ Rewards (but you will still receive the free gift from me!). Use my March Host Code – RF3NNHB2.


7 responses to “Stampin’ Up! Easter Lilies Easter Card Plus a Bonus Card”
Oh my goodness, your cards are stunning Carol! Wow!!! :D
LikeLiked by 1 person
Thanks very much, Amy! I was happy with how they turned out. 🙂
LikeLike
Oh Carol…..these cards are both gorgeous! I really love how you did the cross behind the lily……wonderful Easter cards.
LikeLiked by 1 person
Thank you, Faith! I was really pleased at how these cards turned out!
LikeLike
[…] member and blogger from Claymont, DE and you can see more details about this project on her blog here. Carol’s blog […]
LikeLike
are you kidding me….I really thought the flower was real on that card…..so expertly done….you gave great depth and color….my socks are blown off…..thank you for sharing your talent with us so we can delight in its beauty….Happy Easter
LikeLiked by 1 person
Thank you for your kind words! Happy Easter to you and yours! 🙂
LikeLike