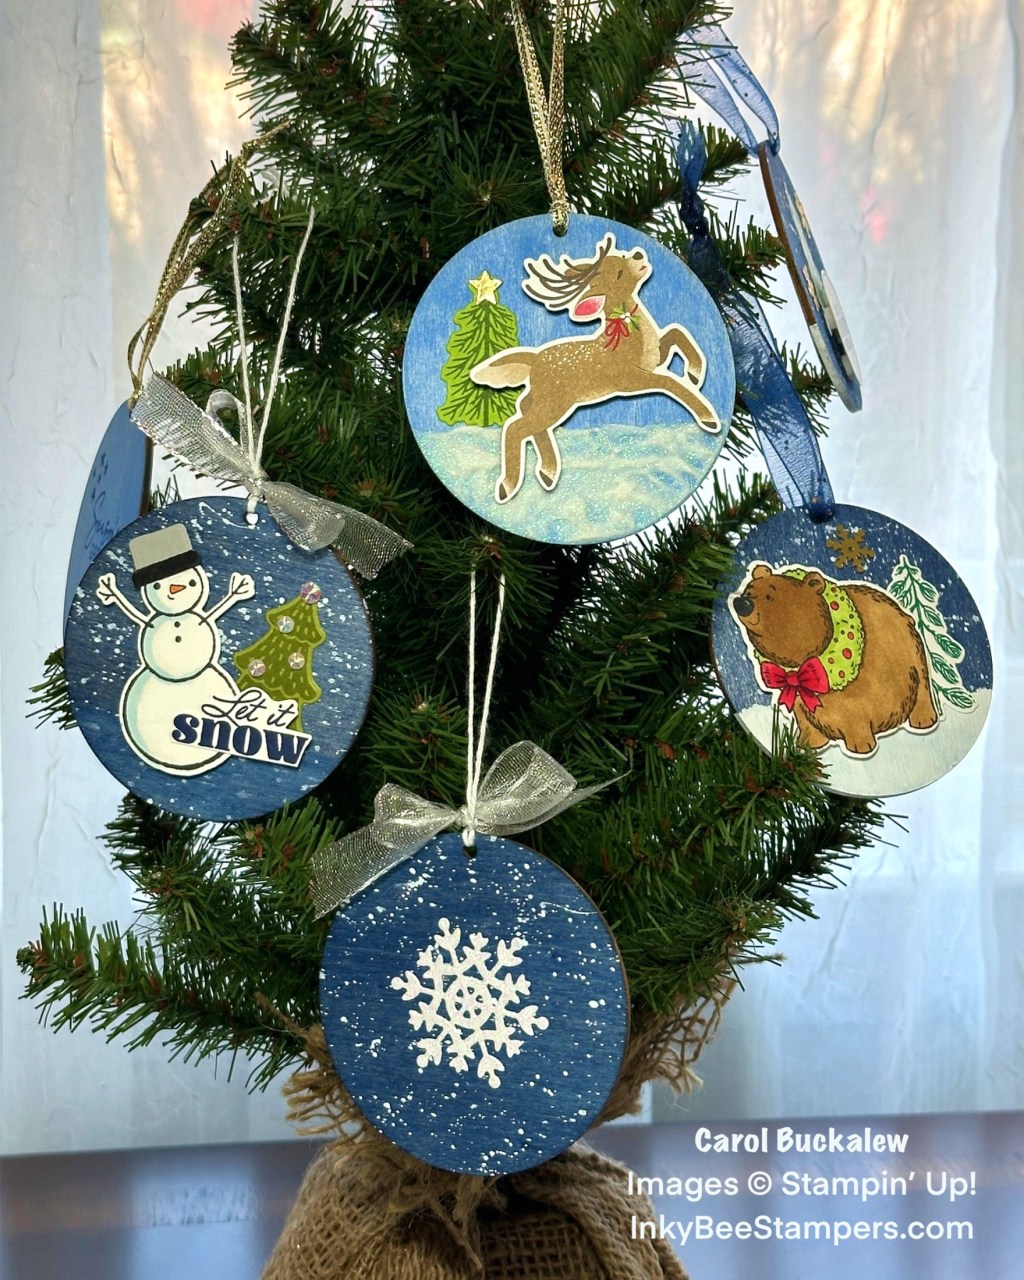
I spent an afternoon creating multiple wooden ornaments using various Stampin’ Up! bundles and supplies and I thought I’d share a few with you in case you’d like to make your own. This would be a great project to include your crafting friends, kids or grandkids in! These sweet ornaments would look great on your Christmas tree or gift them to that someone special.
I used a few non-Stampin’ Up! supplies. The wooden ornaments were purchased on Amazon. You can find the link by clicking here. I also used some white acrylic craft paint and an inexpensive craft paintbrush. The remainder of the supplies used were all Stampin’ Up! products. There is no tutorial for this project as you can pretty much create your ornaments with the supplies that you have on hand. I will explain the process, though, and you’ll find a list of supplies I used at the bottom of this blog post.
Snowy Wonder Ornament:
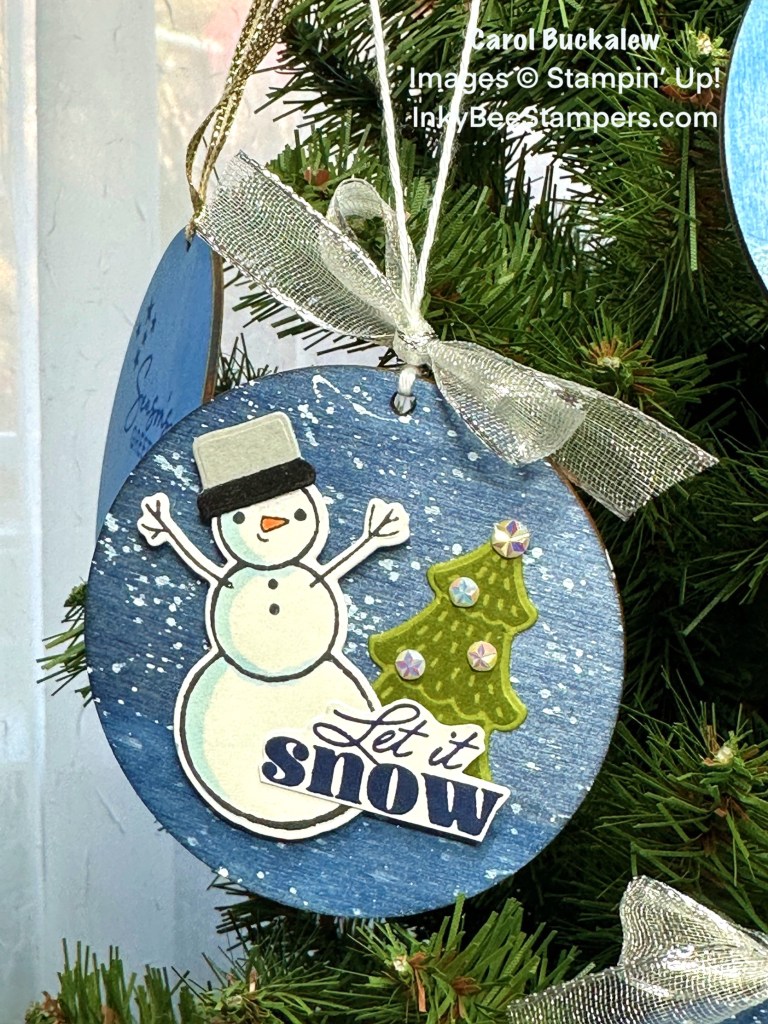
Because the wooden ornaments are unfinished, they are very accepting of any kind of stain. For this ornament I used my Night of Navy Classic Stampin’ Ink Refill to add a few drops of ink to plain water. I used a craft paintbrush to paint the Night of Navy solution on the front and back of the ornament then allowed the ornament to fully dry. I mixed a bit of white acrylic paint with water then used my craft paintbrush to splatter “snow” onto the front and back of the ornament. I used the Snowy Wonder Bundle to stamp and die cut several images. Stampin’ Blends were used to add a bit of color to the snowman (body and nose). The pine tree was adhered to the ornament using liquid glue and the snowman and sentiment were adhered with Stampin’ Dimensionals. The tree was decorated with some Iridescent Faceted Gems.
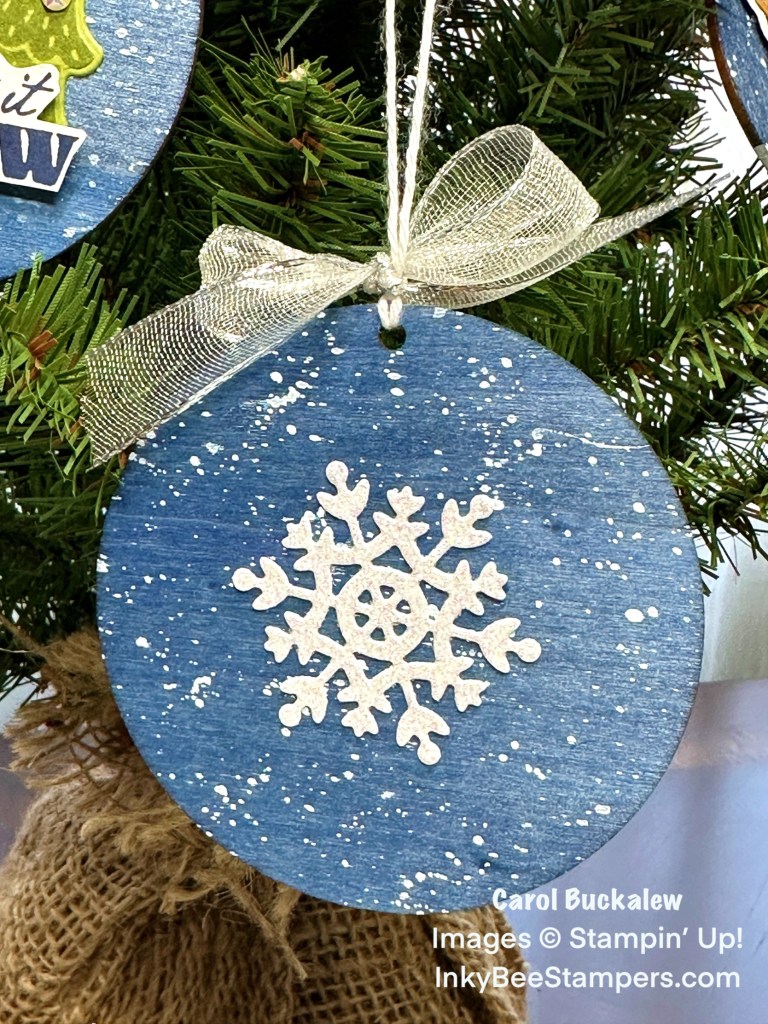
I used the One of a Kind Dies to die cut the snowflake on the back of the ornament using White Glimmer Specialty Paper. The snowflake was adhered to the ornament using small drops of liquid glue. I used white Baker’s Twine for the ornament hanger and a separate length of Silver & White Sheer Ribbon was used to tie a bow at the top of the ornament.
Reindeer Fun Ornament:
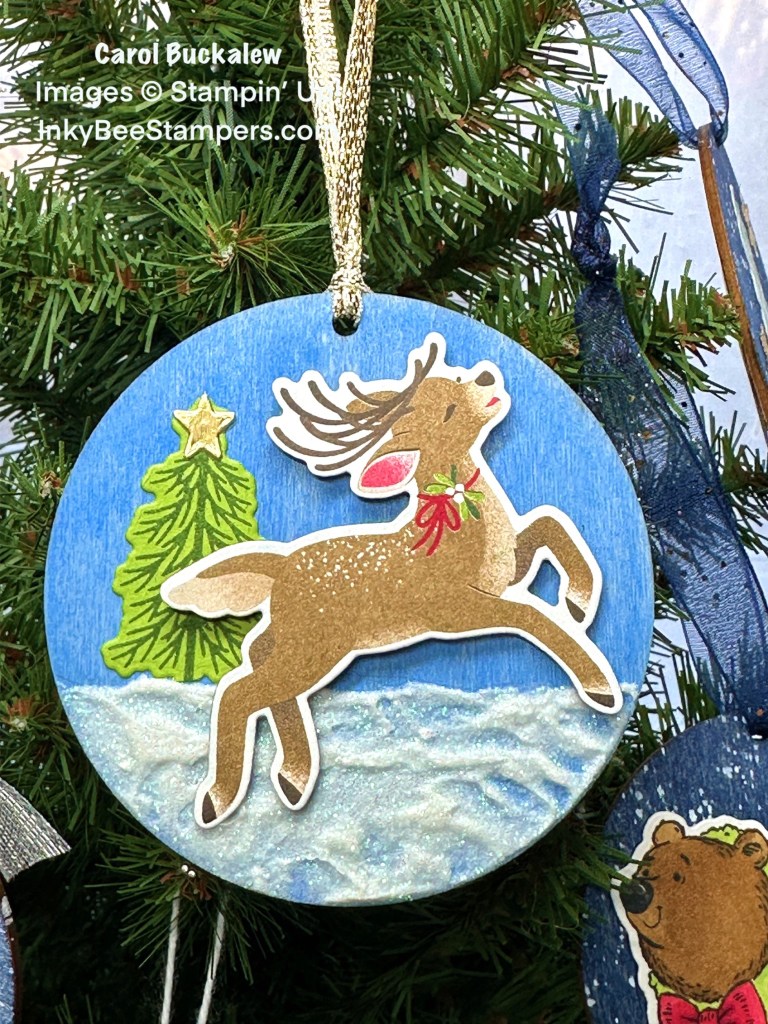
The blue background on this ornament was created with Azure Afternoon Classic Stampin’ Ink Refill and water. On the bottom third of the ornament, I used a palette knife to apply Shimmery White Embossing Paste. Once the Embossing Paste was dry I added the stamped and die cut tree to the left of the ornament using liquid glue and the reindeer was die cut from the Reindeer Days Designer Series paper using the Reindeer Fun Dies and was adhered to the ornament using Stampin’ Dimensionals.
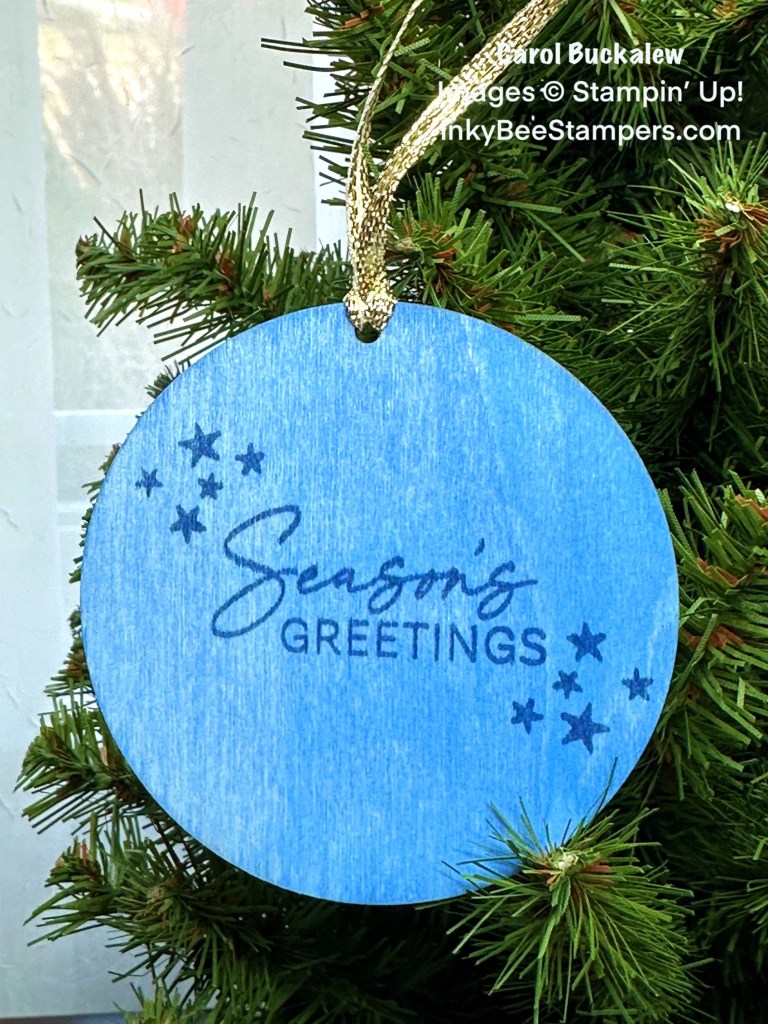
The “Season’s Greetings” sentiment from the Snowy Wonder Stamp Set was stamped onto the back of the ornament in Night of Navy ink. And the sentiment stamped beautifully! I stamped stars on either side of the sentiment in Night of Navy also. I added Gold Trim for the ornament hanger from the Gold & Silver Trim Combo Pack.
Christmas Friends Ornament:
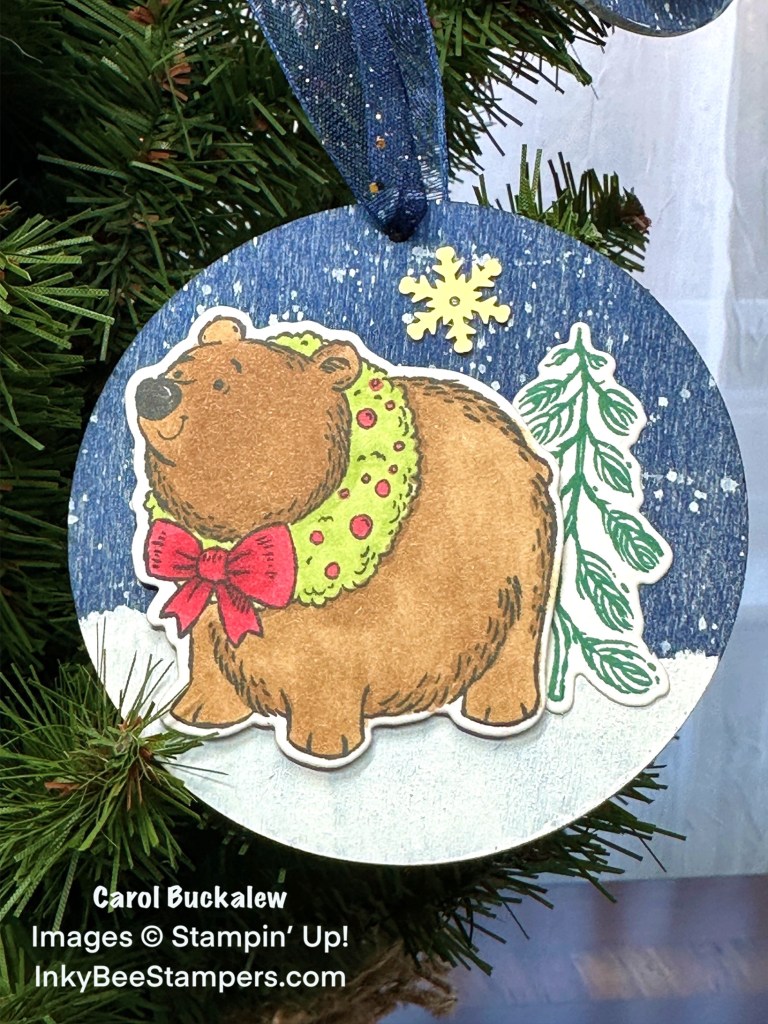
This ornament was painted in Night of Navy ink (same as the first ornament) on both the front and back. Once the ornament was dry, I splattered white acrylic craft paint mixed with water over the front and back of the ornament, then I painted white acrylic craft paint on the bottom third of the ornament front. I stamped the pine tree in Shaded Spruce ink from the Christmas Friends Stamp Set and die cut the image using the coordinating die from the Christmas Friends Dies. The bear was stamped in Memento ink and colored in with Pecan Pie, Real Red and Granny Apple Green Stampin’ Blends then die cut. The tree was adhered to the right of the ornament front using liquid glue and the bear was added to the left of the ornament front using Stampin’ Dimensionals.

A second tree was stamped and die cut and adhered to the back of the ornament using liquid glue. I stamped the sentiment in Night of Navy ink and die cut the sentiment using the Stylish Shapes Dies and the sentiment was adhered to the ornament using Stampin’ Dimensionals. I added two gold Adhesive-Backed Snowflakes to the back of the ornament and one gold Adhesive-Backed Snowflake to the ornament front. Night of Navy & Gold Glittered Ribbon was used for the ornament hanger.
I had an absolute blast creating these ornaments and I hope you enjoyed seeing them! Links to all of the Stampin’ Up! products can be found at the end of this blog post. If you make your own ornaments, send me some photos…I would love to see them!
December Paper Pumpkin Kit –
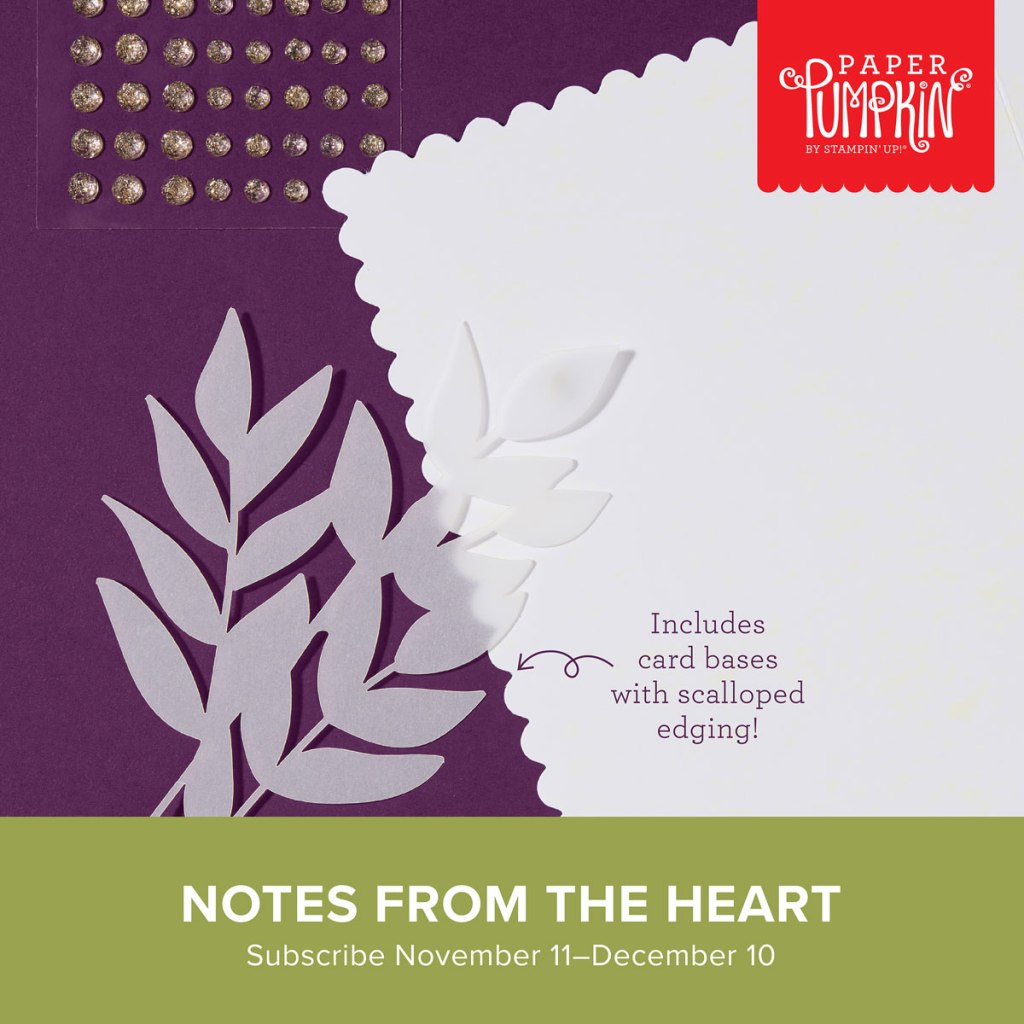
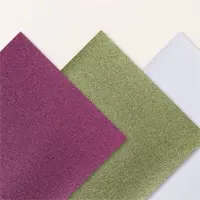
Create all-occasion cards with the Notes From the Heart Paper Pumpkin Kit. This kit includes card bases with scalloped edges, beautiful hand drawn designs, precut vellum, and sparkle gems. Send love to a family member or wish a friend “Happy Birthday” with elegant cards made from this kit. Subscribe to Paper Pumpkin between November 11-December 10 to receive this kit.
Here is what the kit includes:
- Makes 9 projects: 3 each of 3 designs
- Precut vellum pieces and sparkling gems
- Scalloped card bases and coordinating envelopes
- Coordinating colors: Blackberry Bliss (Classic Stampin’ Spot), Flirty Flamingo, Old Olive, Pecan Pie, Pretty in Pink, Very Vanilla
If you are not familiar with Paper Pumpkin Kits, everything you need to complete the project are included in the kit. This takes out all of the guess work so that you can start crafting right away. The kits are great to involve the kids with and they are perfect when you’re travelling…just toss the box in your bag and go!
Paper Pumpkin subscriptions are available on a month-to-month basis, or you can subscribe to a 3-month, 6-month, or 12-month subscription. You can also pause, start or stop your subscription at any time! Click here if you’re ready to subscribe to Paper Pumpkin now.
Two New Kits Added to the Kits Collection!
Two new kits have been added to the Kits Collection – the Nature’s Paintings Kit and the Layered Landscapes Kit!
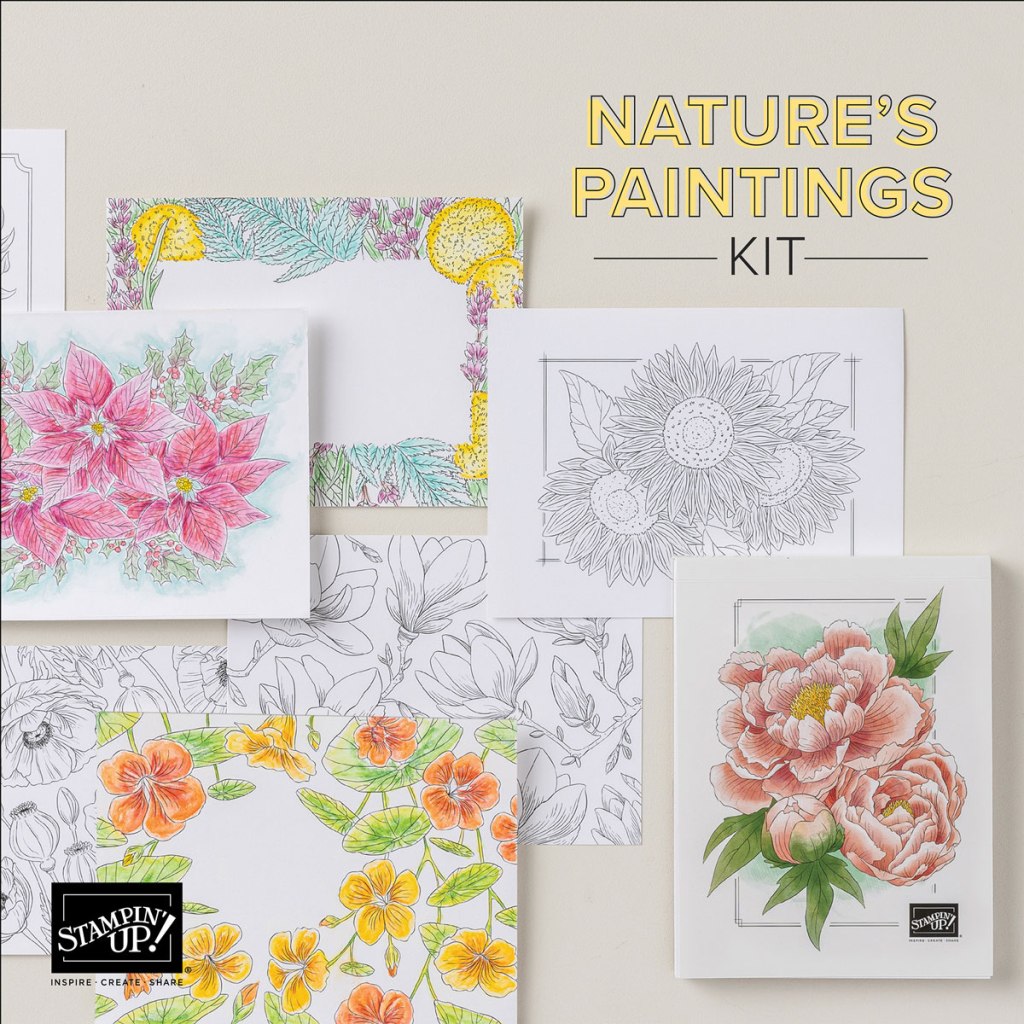
Nature’s Paintings Kit:
The new Nature’s Paintings Kit is something unique and different that allows you to embrace your creative side! This unique kit includes everything you need for a fun creative experience: a coloring book, watercolor pencils, and a water painter. All you need is some imagination and water! Create lovely, picturesque images using advanced coloring techniques with this craft kit. Or make something that’s never been seen before—like green flowers with purple leaves. Keep it realistic or color outside the lines—it’s up to you. And once you’re done, you can use your finished artwork to create a one-of-a-kind card front! Here are the kit details:
- Predesigned projects
- Line art illustrations
- Step-by-step instructions
- 24 watercolor paper pages, 2 each of 12 designs
- 8 Watercolor Pencils
- 1 Water Painter
- Coloring Book: 4-1/2″ x 6″ x 1/2″ (11.4 x 15.2 x 1.3 cm)
- Product colors: Berry Burst, Coastal Cabana, Daffodil Delight, Early Espresso, Flirty Flamingo, Garden Green, Pumpkin Pie, Red
You can view the unboxing video for the Nature’s Paintings Kit below…
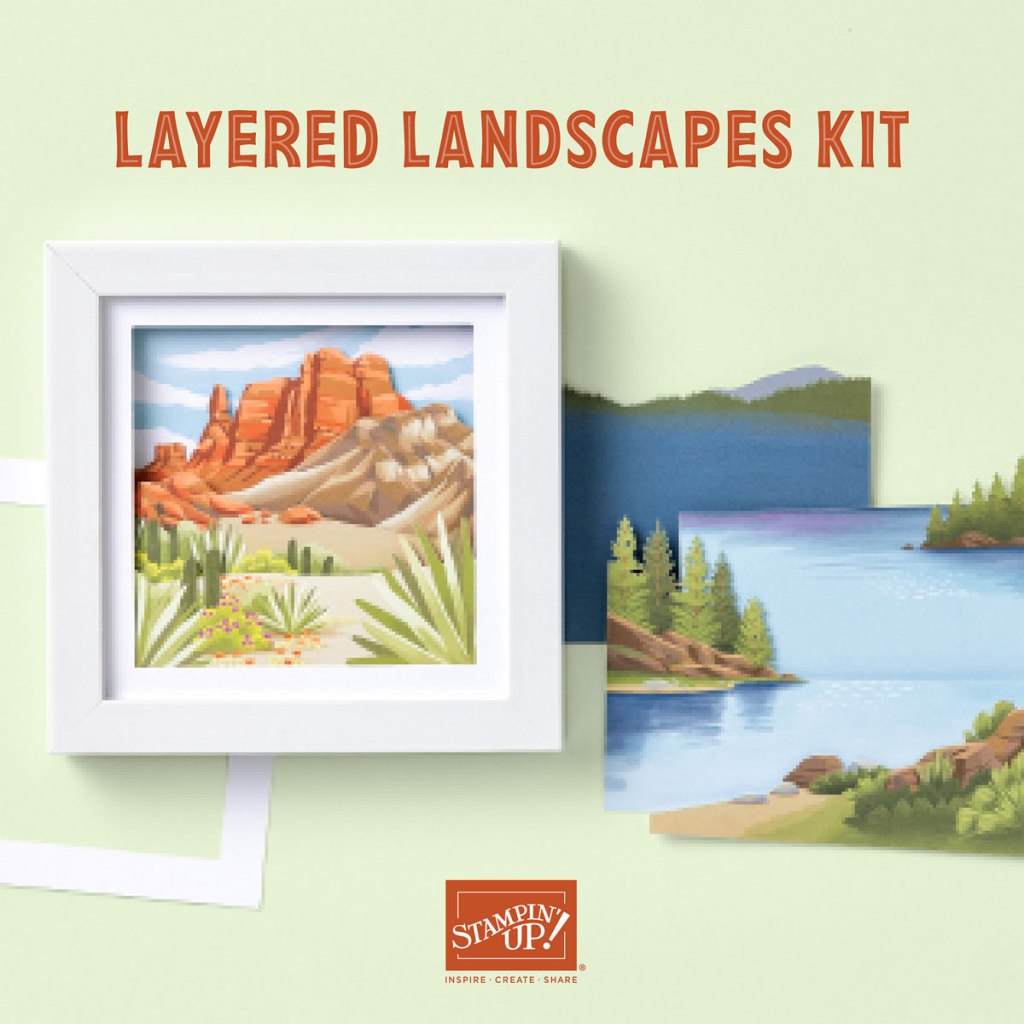
Layered Landscapes Kit:
Do you long for the great outdoors but don’t actually want to go outdoors? Then the Layered Landscapes Kit is perfect for you! DIY lovely home decor with this unique kit that includes four 7-1/8″ x 7-1/8″ x 3/4″ (18.1 x 18.1 x 1.9 cm) frames and precut paper pieces. You can either stand the frames up on their included easels or hang them on your wall. Either way, your houseguests are sure to love your new artwork! Here are the kit details:
- Predesigned projects
- Step-by-step instructions
- Precut pieces (No prep work! Get right to crafting)
- 4 white frames
- Frame size: 7-1/8″ x 7-1/8″ x 3/4″ (18.1 x 18.1 x 1.9 cm)
- Enough adhesive to complete projects
- Product colors: Balmy Blue, Basic Beige, Basic Gray, Berry Burst, Cajun Craze, Crumb Cake, Early Espresso, Gray Granite, Lemon Lime Twist, Misty Moonlight, Mossy Meadow, Night of Navy, Old Olive, Pecan Pie, Soft Sea Foam
You can view the unboxing video for the Layered Landscapes Kit below.
To view all of the kits available in the Kits Collection, click here.
2025 January-April Mini Catalog and the Sale-A-Bration Catalog are Coming Soon!

I have received my preorder from the upcoming 2025 January-April Mini Catalog and the Sale-A-Bration catalog and I will be sharing projects with you very soon! The items from these catalogs will be available for customer orders in early January! It is hard to believe that January is right around the corner – just six weeks give or take a few days!
I also preordered catalogs. If you are a customer of mine who has spent $50 with me in the last 12 months, then I will be sending out a catalog to you just as soon as I can get them out the door! If you are not a customer of mine, and don’t have a current demonstrator, head over to my online store and place at least a $50 order with me and I’ll add you to my catalog list!
You’re going to love all of the new goodies in these catalogs! If you can’t wait for their launch in January, consider becoming a demonstrator and join the Stampin’ Up! team! You can preorder new goodies and add them to your Starter Kit then cash in on the 20% discount once you join!
November Host Code

Use my current Host Code and receive a free gift from me valued at $8 when you place an order of $35 or more (before shipping and tax). If you place an order greater than $150, do not use the Host Code as you will be eligible for Stampin’ Rewards (but you will still receive the free gift from me!). Use my November Host Code –QMCK2NU9 .
Products used to create this project are included below.


Price: $6.00


8 responses to “Stampin’ Up! Snowy Wonder, Reindeer Fun and Christmas Friends Wooden Ornaments”
I love these! Such a cute idea for Christmas! 🙂
LikeLiked by 1 person
Thank you, Amy! 😉
LikeLike
These ornaments are adorable!! Now, to finish them, you need to sign your name and put a date on them. I gave ornaments to my grandchildren every year until they graduated from school, and made sure they at least had the year on them.
For durablility and to make them a keepsake, how about using ModPodge or something similar to coat them?
Thanks for the inspiration!
LikeLiked by 1 person
Thank you, Julie! Good idea on dating them. That’s an easy fix! I tried ModPodge but it caused the stained wood color to bleed. I will keep experimenting. If these were properly stored after Christmas they should last a long time, I think. These were so much fun to make! I was thinking of you recently. We have had an abundance of beautiful birds in our back yard this fall. Nuthatches, Black-Eyed Juncos, Red Headed Woodpeckers, Wrens, Cardinals and of course our resident Sparrows! Have a fantastic Thanksgiving!
LikeLike
These are ALL so fun and pretty! I love them – and so will whoever GETS one!! 🙂
LikeLiked by 1 person
Thanks, Mary! They were lots of fun to create!
LikeLike
Did you use 3 or 4” wooden circles from amazon?Very cute.BethSent from my iPad
LikeLiked by 1 person
Hi Beth, thank you! I used the 3″ circles.
LikeLike