It is not too early to start thinking about Valentine’s Day cards! Today’s card was created using products from the upcoming Bee Mine Suite Collection along with the Perennial Postage Dies (love these dies!). The products from the Bee Mine Suite will be available for customer orders beginning on January 4 from the January-April 2024 Mini Catalog which is just a few short weeks away!
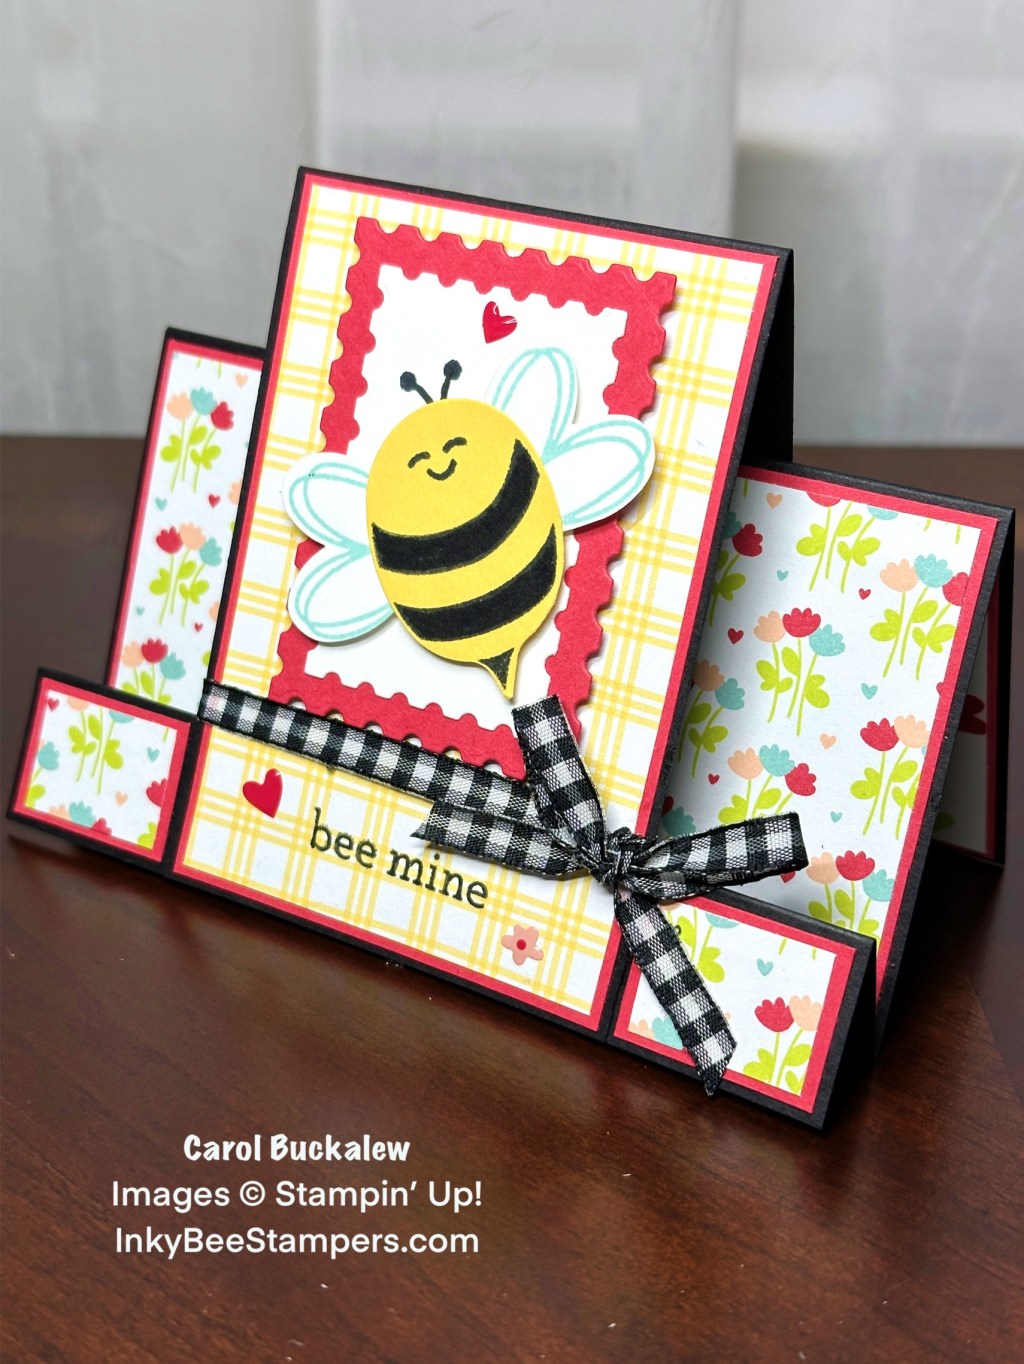
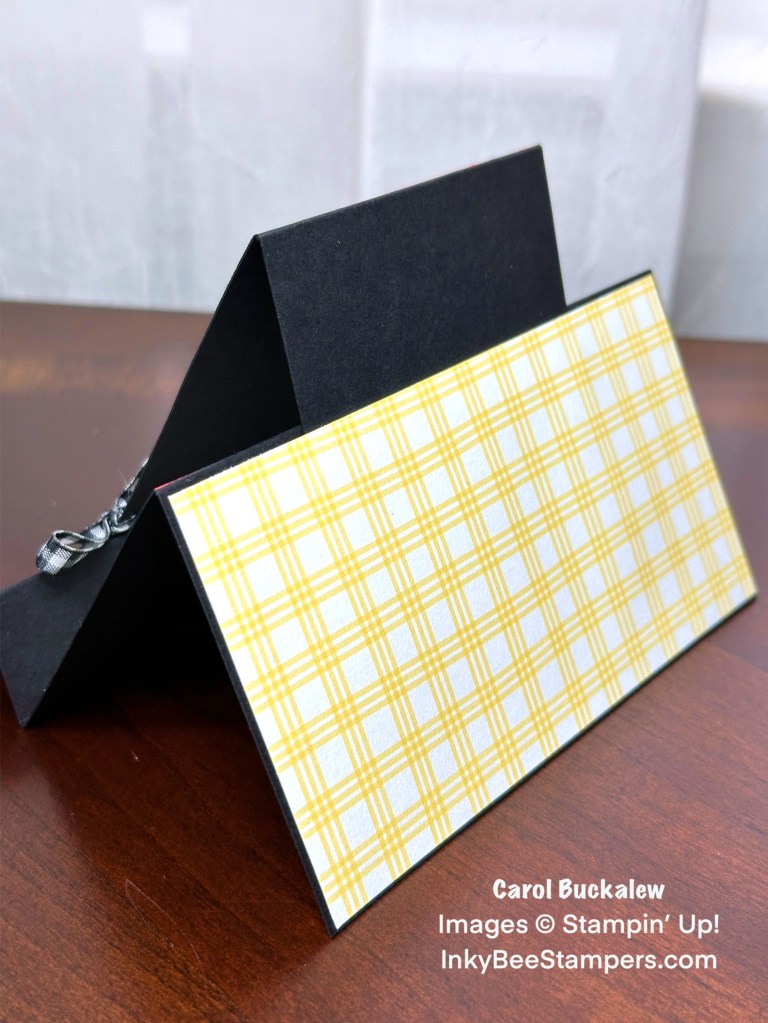
I started off by cutting a card base from Basic Black cardstock measuring 8″ x 5-1/2″ and scoring at 3″ (mountain fold), 6″ (valley fold) and 7″ (mountain fold). The Center Step Base was also cut from black cardstock and measures 6″ x 3″ and was scored at 4-1/4″ (mountain fold). This is called an “easy” center step card because there are no complicated cuts of a single card base, but rather the card is made up of two pieces that get adhered together. Don’t worry…complete instructions are provided in the linked pdf tutorial below!
I chose a small floral print from the Bee Mine 12″ x 12″ Designer Series Paper pack to decorate the card base. These panels were matted to Sweet Sorbet cardstock then adhered to the front of the card base. I chose a Daffodil Delight check print for the center step portion of the card, and this panel was also matted to a piece of Sweet Sorbet, then adhered to the center panel.
Using the Perennial Postage Dies, I cut a rectangle from white cardstock using the 3rd from the smallest rectangle. A rectangle from Sweet Sorbet cardstock was die cut using the 4th from the smallest rectangle die. these were then adhered together. On a scrap of Daffodil Delight cardstock, I stamped the bee’s stripes and tail, then used the Bee Builder Punch to punch out the bee’s body. The wings were stamped in Pool Party ink onto a scrap of white cardstock and punched out with the Beel Builder Punch. The wings were then adhered to the bee’s body. Using the Bee My Valentine Stamp Set, I stamped the bee’s face just above the striped section of the body. (There are multiple faces to choose from…and all so cute!) Before adhering the bee to the rectangle unit, I stamped the antennae onto the rectangle unit, then attached the bee using Stampin’ Dimensionals.
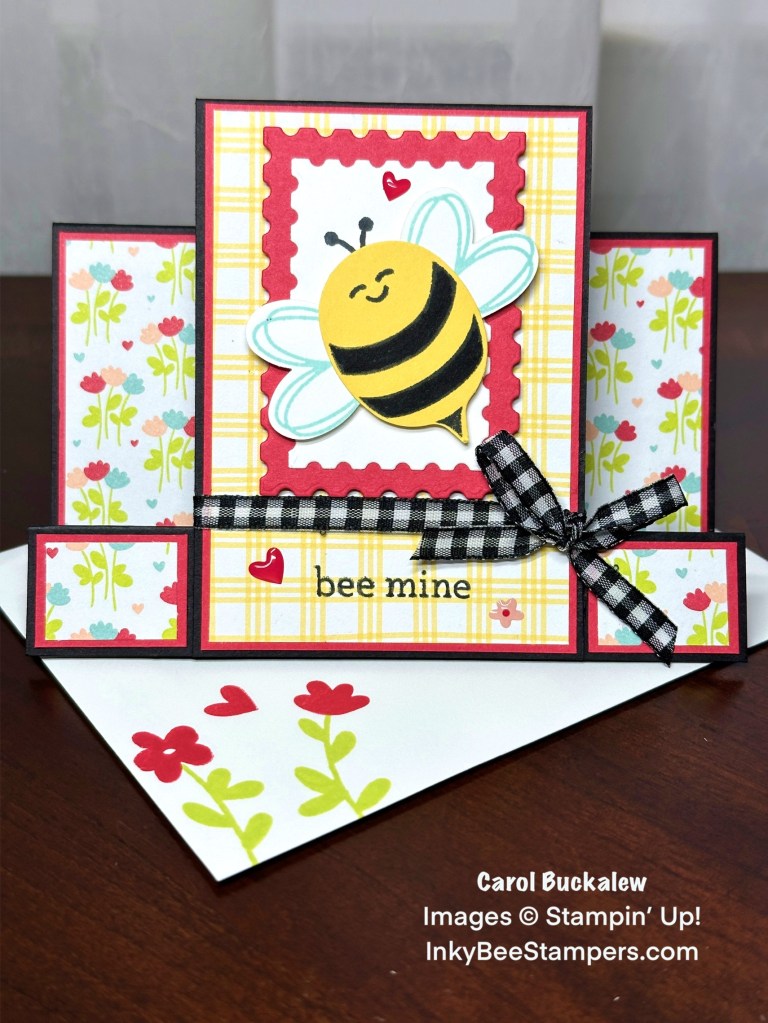
The rectangle unit was attached to the center step base portion of the card using Stampin’ Dimensionals and positioned at the top of the panel. Before adhering the center step section to the card base, I stamped the “bee mine” sentiment below the rectangle unit and directly onto the designer series paper panel. Using a small line of adhesive along the front bottom edge of the center step base, the center step was adhered to the step of the card base.
Before attaching the back of the center step base to the card base, I stamped the inside panel with the “Happy Valentine’s Day” sentiment. I also stamped several flowers, flower stemps and a heart onto the lower portion of the panel. The panel was adhered to a Sweet Sorbet mat, then adhered to the inside of the card.
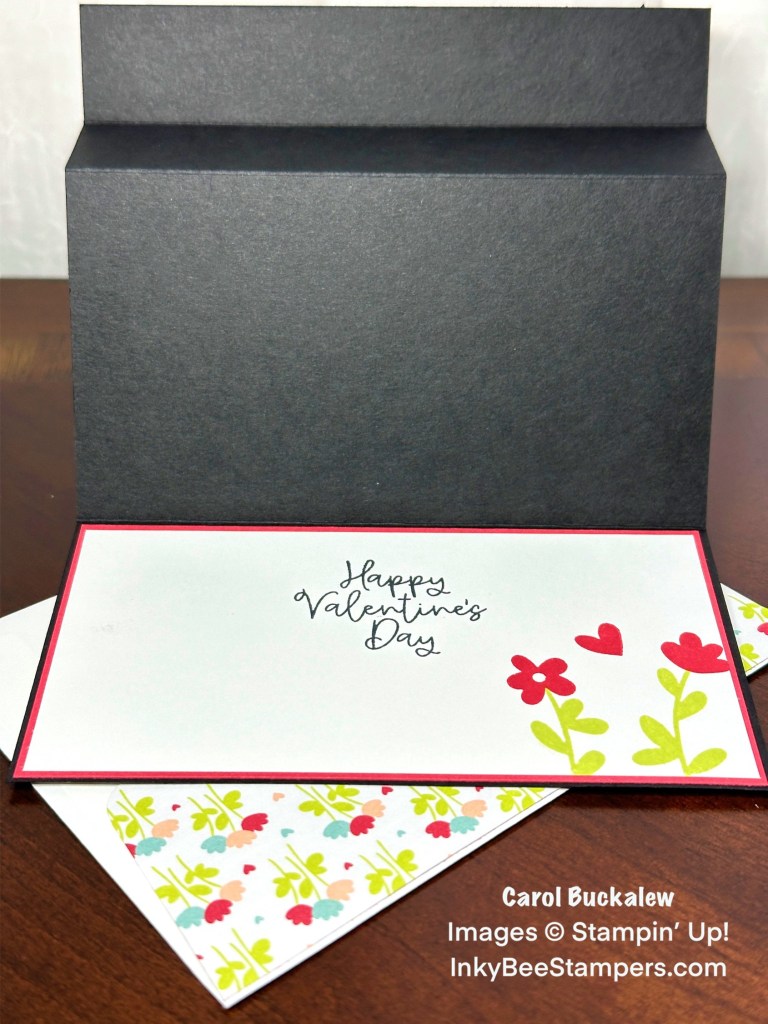
The back of the center step base was then adhered to the back of the card base. Again, I used a small line of adhesive and with the card fully closed and face down, the center step flap was carefully folded down and adhered to the back of the card base. Below is a profile picture of the assembled card.
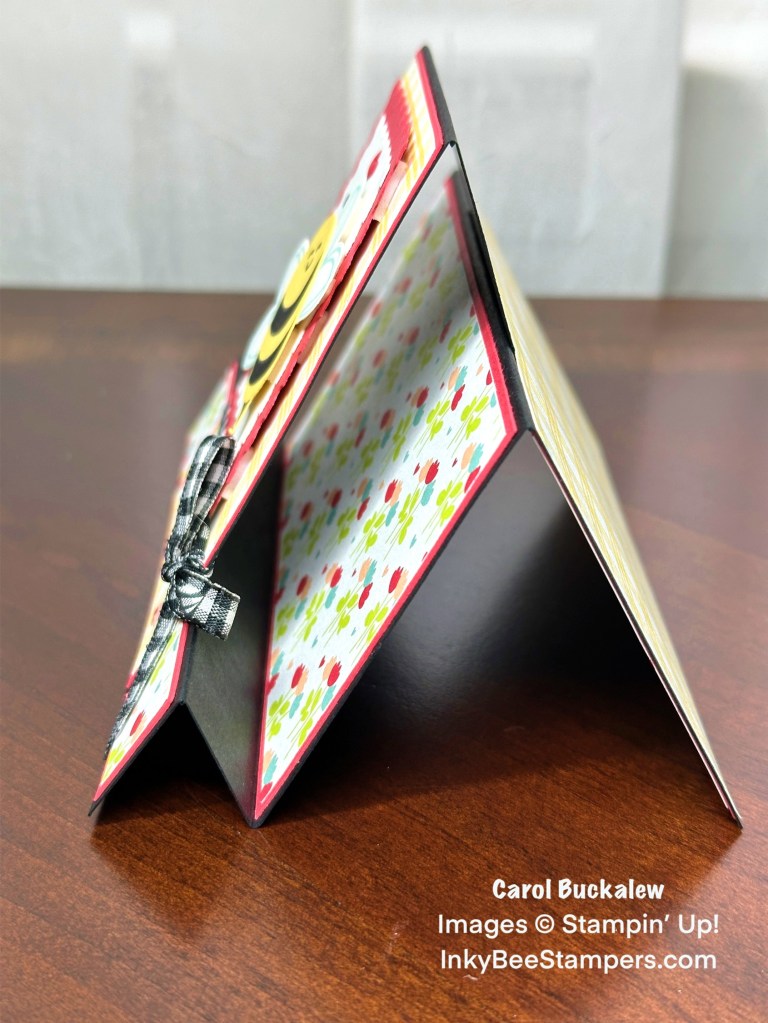
A panel of designer series paper was adhered to the back of the card to hide the attachment point of the center step base to the card base…but this step is completely optional if you’d like to conserve your designer series paper.
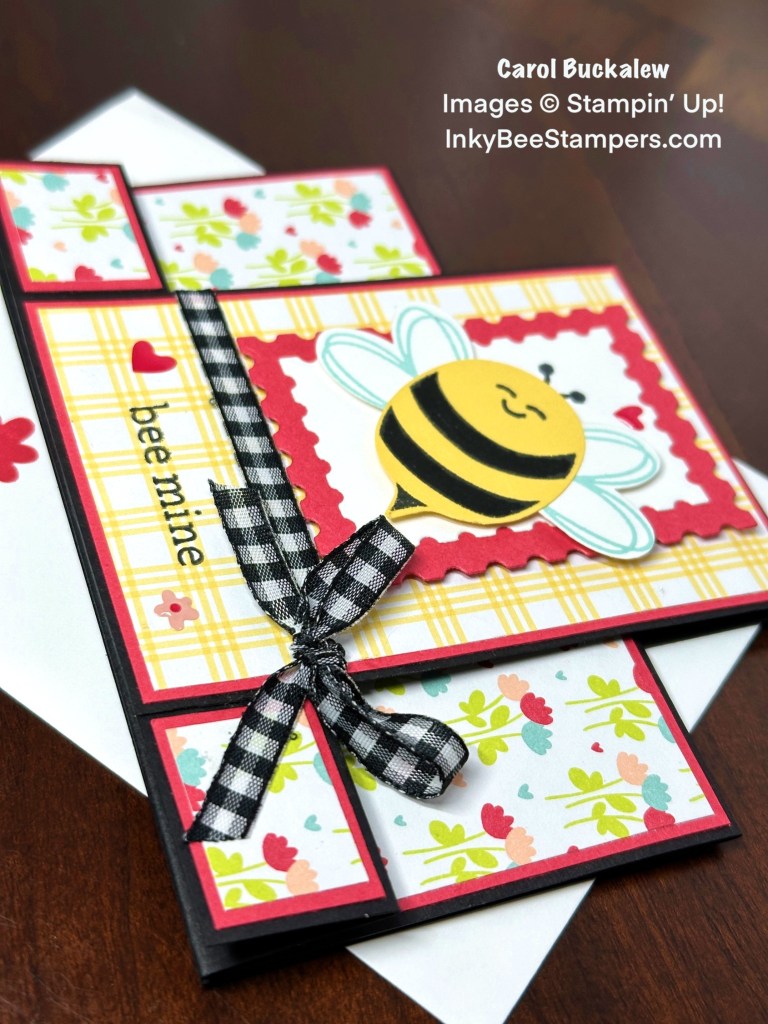
A length of black and white Gingham Ribbon was tied around the center portion of the card, and I tied a bow to the side of the center panel. Several Adhesive-Backed Hearts & Flowers were adhered to the card front. The same flowers, flower stems and heart were stamped onto the envelope front, and I adhered a coordinating piece of designer series paper to the envelope flap to complete the card.
Also included in the Bee Mine Suite are Square Pillow Boxes. I did not put together one of these boxes for today, but they are perfect for decorating and can be included with a Valentine’s Day Card for a added treat! The Bee Mine Suite is so cute, and the punch makes easy work of creating this adorable little bee!
You can download, save and print the pdf tutorial for this card by clicking on the image below. Enjoy!

January Paper Pumpkin Kit – Lovely Lavender
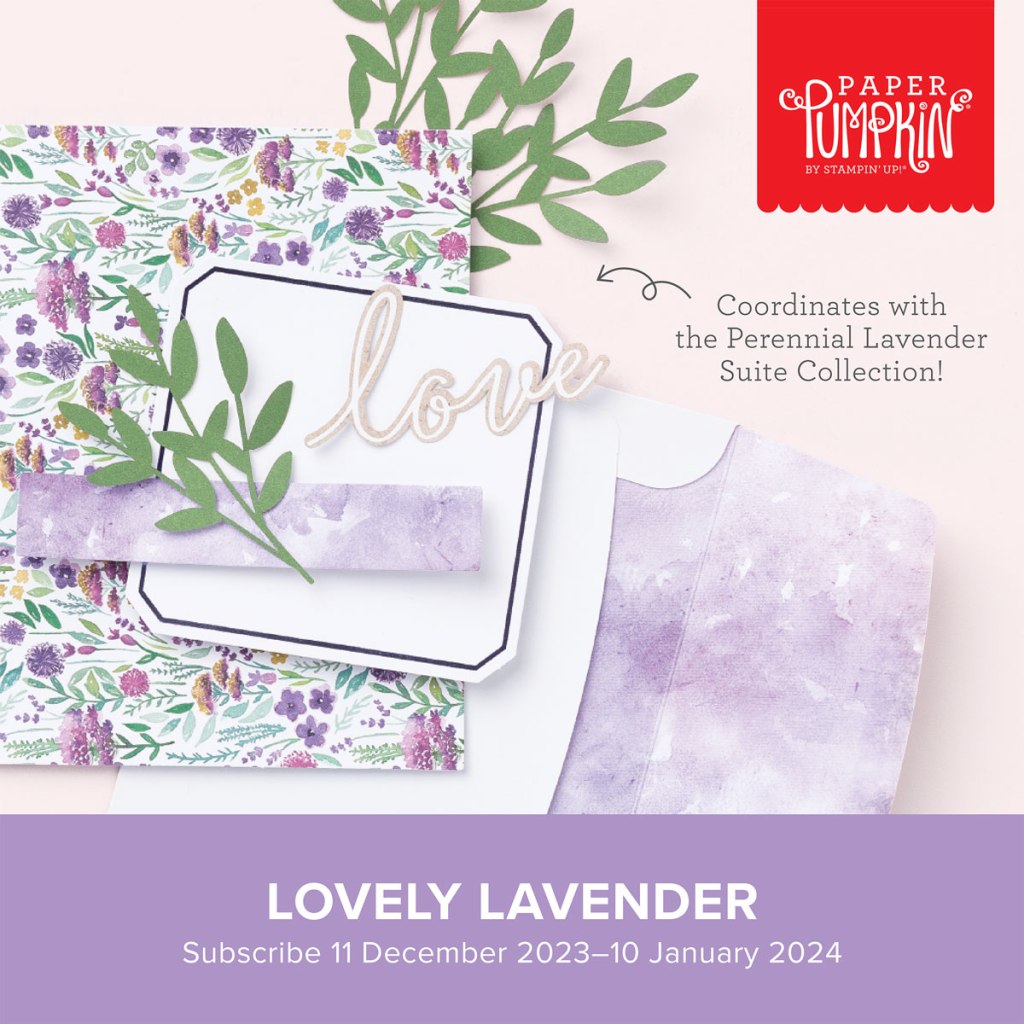
Subscribe to Paper Pumpkin between now and January 10 and receive the Lovely Lavendar Paper Pumpkin Kit. This kit is perfect for love-themed cards for special occasions, Valentine’s Day, anniversaries, and more! And, the kit coordinates with the Perennial Lavendar Suite Collection (Item #162613) which can be found in the upcoming January-April 2024 Mini Catalog (available for orders beginning on January 4).
Kit Details
- Makes 8 cards: 4 each of 2 designs with 8 coordinating envelopes
- 4 bonus tags that punch out from the card front
- Precut paper pieces and linen thread
- Coordinating colors: Garden Green, Pretty Peacock, Lost Lagoon, Highland Heather, Gorgeous Grape (Classic Stampin’ Spot), Berry Burst
New Approach to Paper Pumpkin!
Beginning with the Lovely Lavender Paper Pumpkin Kit, Stampin’ Up! will be releasing a die Add-On that will not only coordinate with the January kit, but also the February and March kits as well! At the beginning of each quarter, there will be a new die Add-On that will coordinate with the kits for the current quarter (available while supplies last). By purchasing the Add-Ons, you will be able to stretch your creativity in using the Paper Pumpkin kits even further! To view the current Paper Pumpkin flyer, click here.
Subscribing to Paper Pumpkin
Not a Paper Pumpkin subscriber yet? What are you waiting for? Subscribe to Paper Pumpkin today to receive your very own all-inclusive crafting kit each month. Kits include card projects, tags and gift packaging! When I say the kits are all-inclusive, that is exactly what I mean. You will receive everything in your kits that you will need to complete the projects, including ink, paper, adhesives and embellishments! Click on the image below to subscribe to Paper Pumpkin today!
Last Chance Products – Up to 60% Off!

The September–December 2023 Mini Catalog is retiring soon! It’s bittersweet to say goodbye to a Stampin’ Up! catalog, but I’m looking forward to all the new products on their way—and I hope you are, too!
From November 21, 2023 through January 3, 2024, you can stock up on your favorite seasonal products and save up to 60% on essential craft supplies! So, what are you waiting for? The selection of Last Chance Products will only be available while supplies last. If there is something you have had your eye on…grab it now!
Here are some things to know about the Last Chance Products Sale:
SALES PERIOD:
Starts: 21 November 2023 at 12:00 a.m. (MT)
Ends: 3 January 2024 at 11:59 p.m. (MT)
- Not all items on the Last Chance Products List will be discounted and this varies from one market to another.
- All products are available while supplies last, and there are no purchase limits.
- Discounted items can be added to a Starter Kit and redeemed as a 50% off item or with Stampin’ Rewards.
- Only orders opened and closed during the promotion period apply.
- Stamp sets are not guaranteed during this promotion and are while supplies last.
- Discounts are automatically applied when sale items are added to any order, including Starter Kits.
You can view the Last Chance Products List for the Sep-Dec 2023 Mini Catalog by clicking here.
Shop the Clearance Rack!
Shop the Clearnace Rack for some amazing deals and up to 60% off on select items! Products are while supplies last so don’t delay!
You can visit the Clearance Rack section of the online store now by clicking here.
December Host Code

Use my current Host Code and receive a free gift from me valued at $8 when you place an order of $35 or more (before shipping and tax). If you place an order greater than $150, do not use the Host Code as you will be eligible for Stampin’ Rewards (but you will still receive the free gift from me!). Use my December Host Code – QDPRJ7RH.
Products used to create today’s project which are available now, are included below. Item numbers for new, upcoming products are included under the supply list on the attached pdf tutorial linked above. The new products will be available for customer orders on January 4!


6 responses to “Stampin’ Up! – Sneak Peek! Bee My Valentine Easy Center Step Card”
Such a fun card! Love that little bee, perfect colors and mix of designer papers too! 🙂
LikeLiked by 1 person
Thank you, Amy! I had loads of fun creating this cute little card! 🙂
LikeLike
Oh my gosh! I love absolutely everything about this card! 🙂
LikeLiked by 1 person
Thank you, Mary. It’s a cute set! 🙂
LikeLike
Adorable!! love the bright colors and that sweet little bee!!
LikeLiked by 1 person
Thank you, Faith! He is a sweet little bee! 🙂
LikeLike