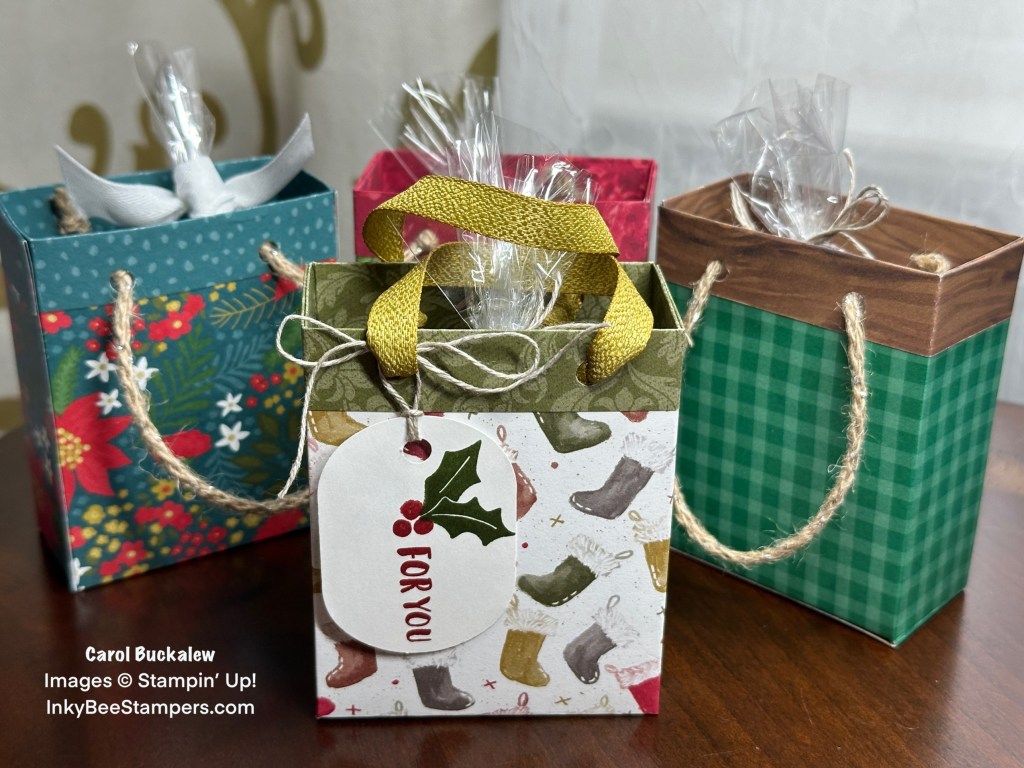
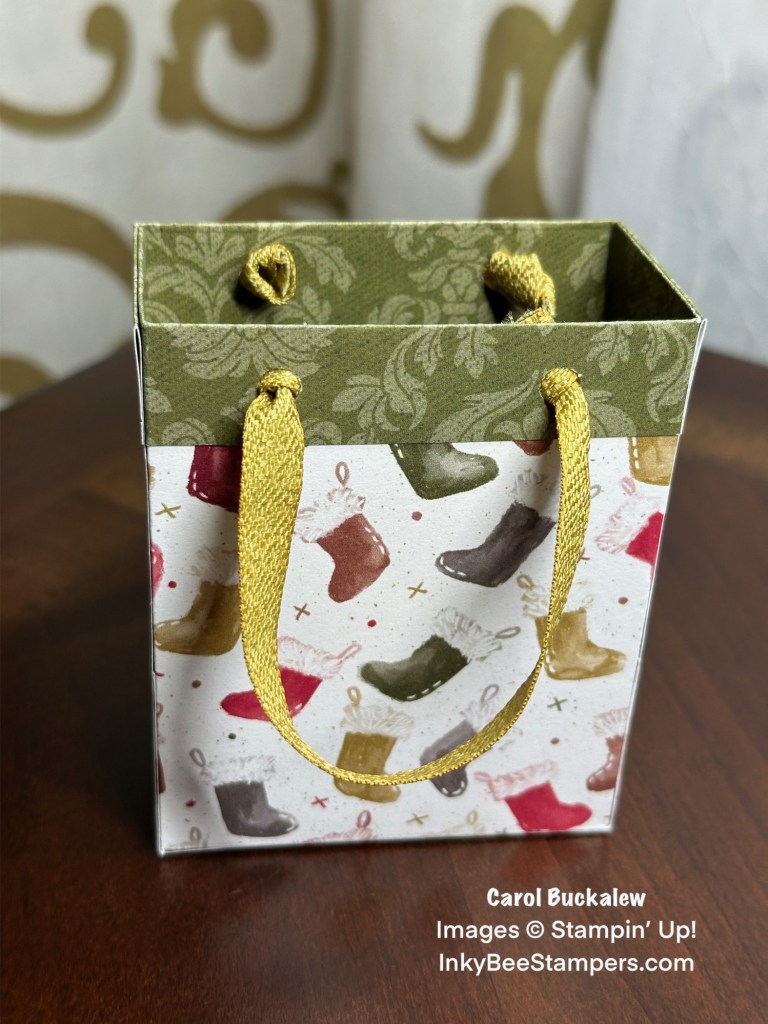
Today’s project is a CAS (create and share) – I happened to catch fellow Stampin’ Up! Demonstrator Mary Knabe’s YouTube video creating gift bags from Designer Series Paper. I love the contrasting top edge of these gift bags and so I wanted to share this project with you. Mary shares various sizes of bags on her video and if you’d like to watch her video, you can see it here. Today, I’m creating one of the smaller bags which finishes at 3-3/4″ x 3″ x 1-1/2″.
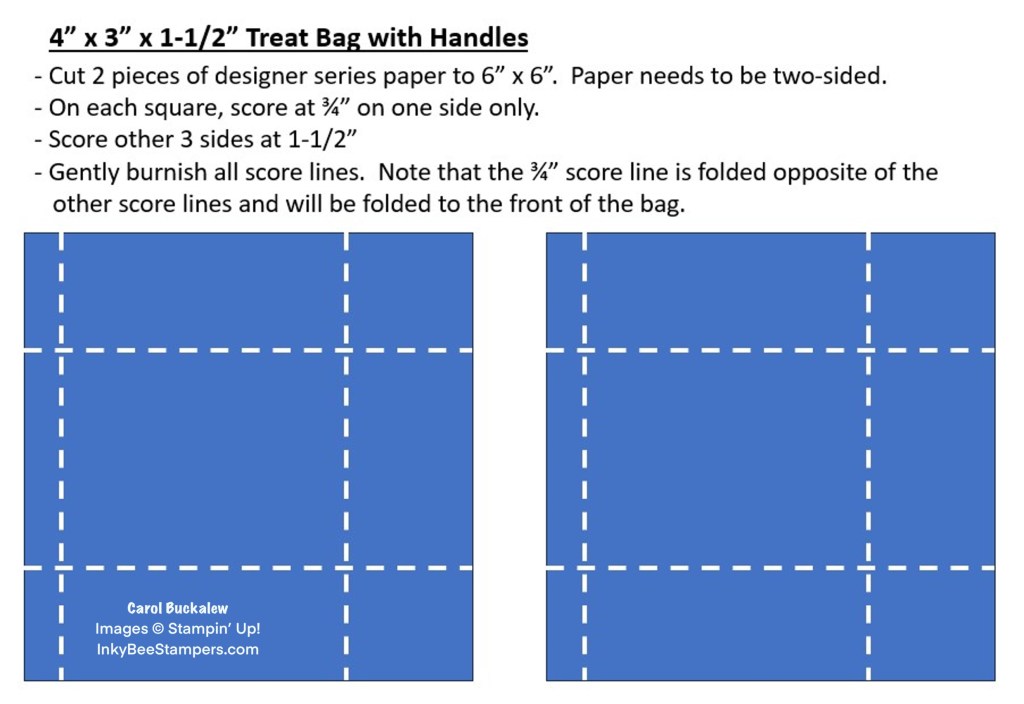
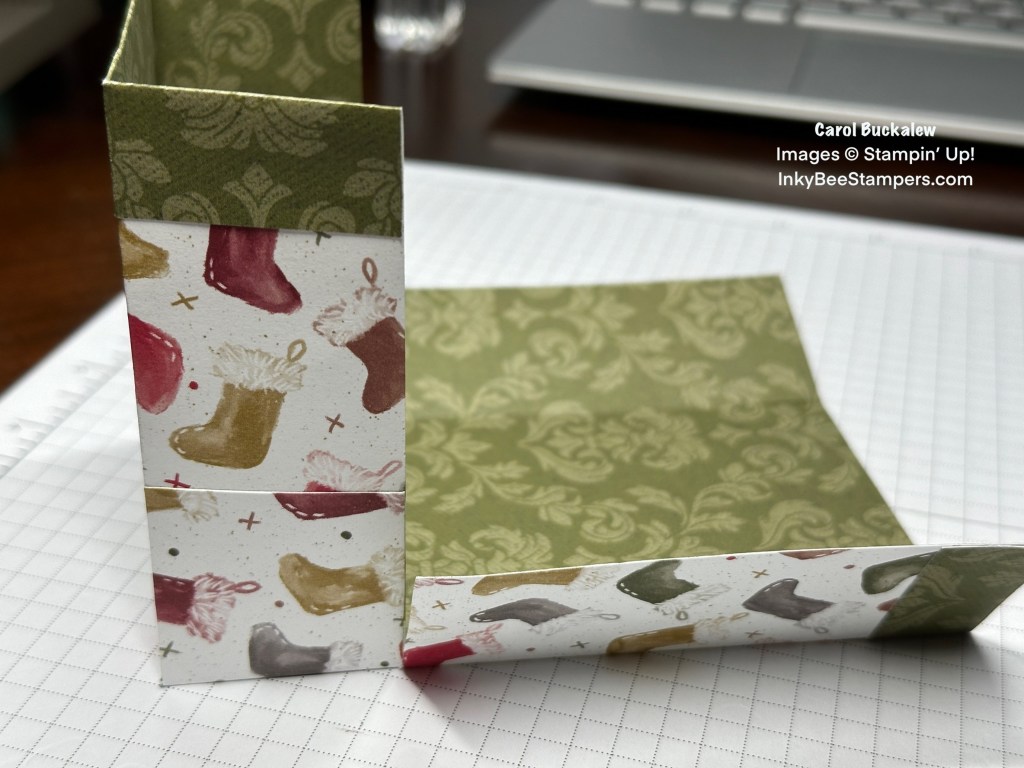
To start I cut two pieces of two-sided designer series paper to 6″ x 6″. You definitely want to use two-side paper! If your paper is directional as mine is, you will want the 3/4″ score line to run along the top of your paper pattern. The paper squares were scored as follows:
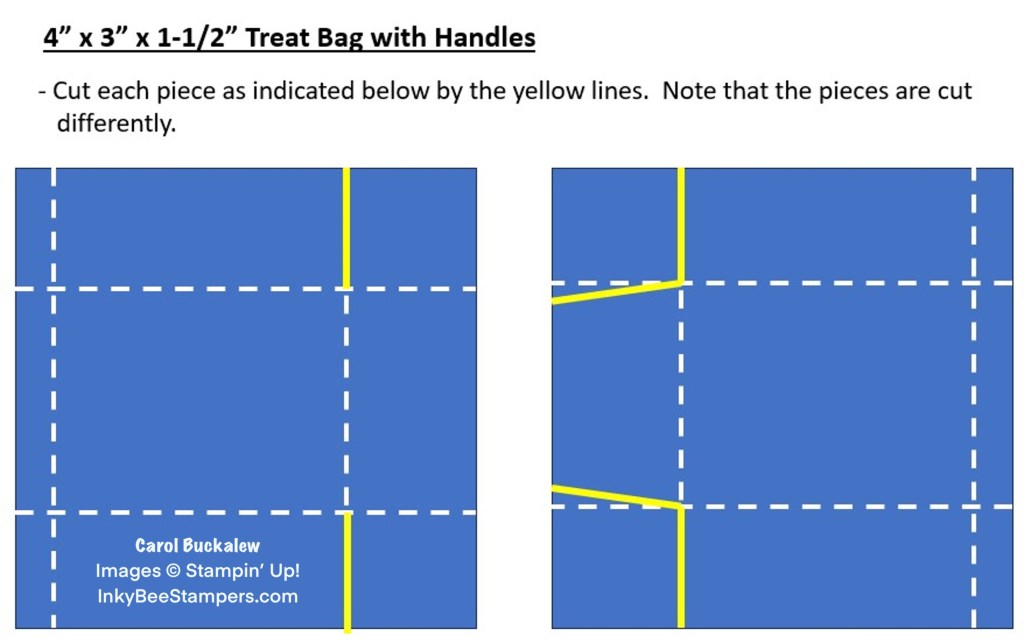
Next, you will need to cut the bottom sections of the squares. Note that the 3/4″ score line on each piece is the top of the bag. In the illustration below, I have the 3/4″ sections facing to the far left and far right. The cut sections are facing each other in the center.
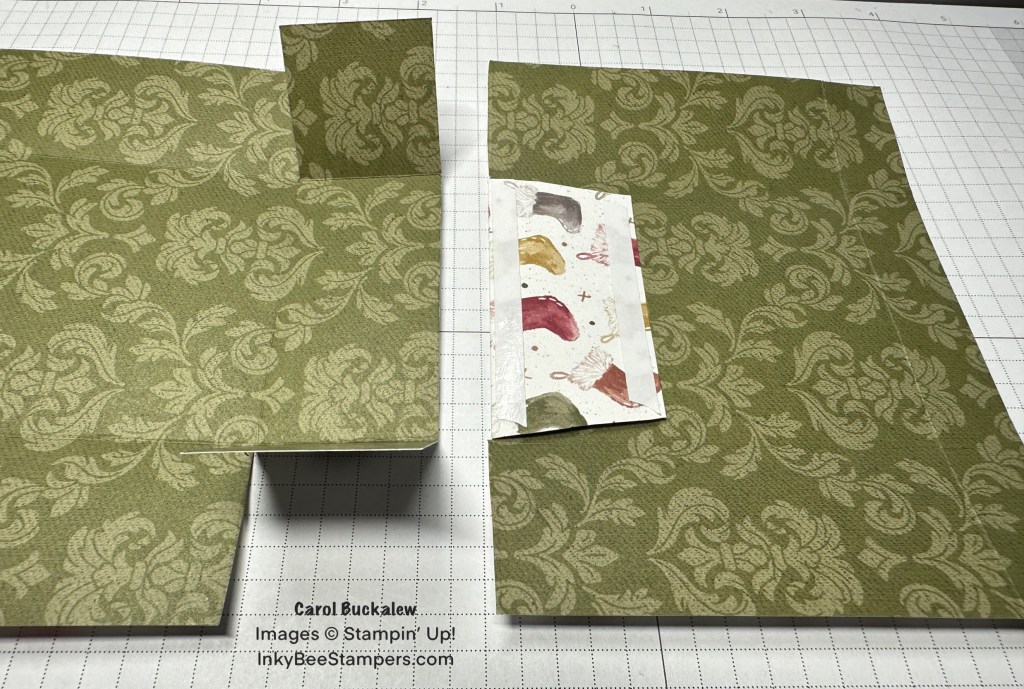
Before assembling the gift bag pieces, you will need to turn the 3/4″ fold to the right side of your paper and adhere these strips to the front of each piece. You can use Tear & Tape, Stampin’ Seal or liquid glue to adhere these strips down. These 3/4″ sections become the contrasting top edge of the gift bag.
Turn the pieces so that the wrong sides are face up and the cut out sections are facing each other. On the center flap with the angled cuts, flip this flap up and apply adhesive to the “front” side of this section. Keep this flap folded back then bring the bottoms, or cut pieces together so that the edges and score lines line up and the pieces are touching, then carefully adhere the angled section to the rectangular center section of the second piece. This becomes the bottom of the bag.
On the two small center flaps, or tabs, apply adhesive to the insides of these tabs and carefully adhere one tab at a time to each of the bag sides. Make sure that the tabs are flush with the edges of the bag sides.
To finish up the gift bag, apply glue to the insides of the two remaining sides and adhere to the previously assembled sides.
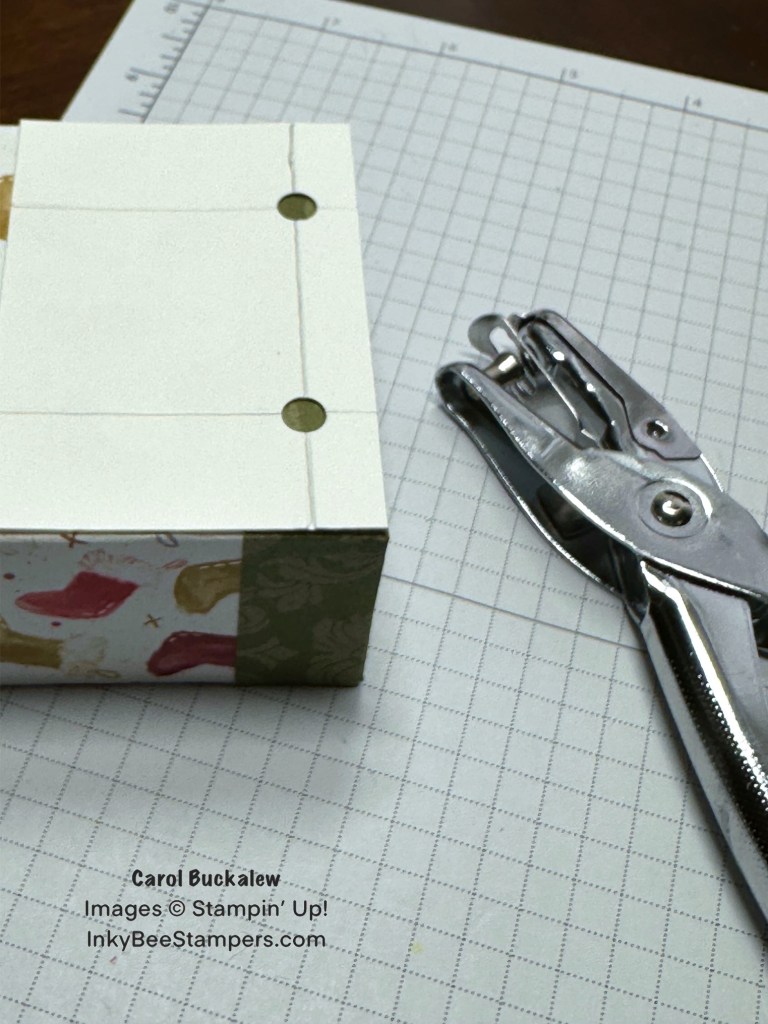
Because I am creating multiples of this gift bag I created a template to punch out the holes for the handles so that the holes would be consistent on each side of the bag. The template measures 3″ x 2″. I used the scoring blade on my paper trimmer and on the short side, scored at 3/8″. Then I scored on the long edge at 3/4″ on each side. I used a 1/4″ single hole punch to punch a whole at each of the intersecting score lines. I then held the 3″ section of the template against the top edge of the gift bag and punched two holes on each side of the bag.
Two 9″ lengths of ribbon were used for the handles on each side of the gift bag. On the first bag side, the ribbon was threaded through the holes and I tied knots at each end then repeated this for the second side of the bag. I found that ribbon measuring at least 3/8″ wide worked best. Anything smaller would pop through the 1/4″ holes. 1/2″ wide ribbon would be ideal.
I filled my gift bag with a cellophane bag of sweet treats and tied the top of the cellophane bag with a piece of Linen Thread. I added a sentiment label to the front of the bag and tied this onto the bag handle with another piece of Linen Thread.
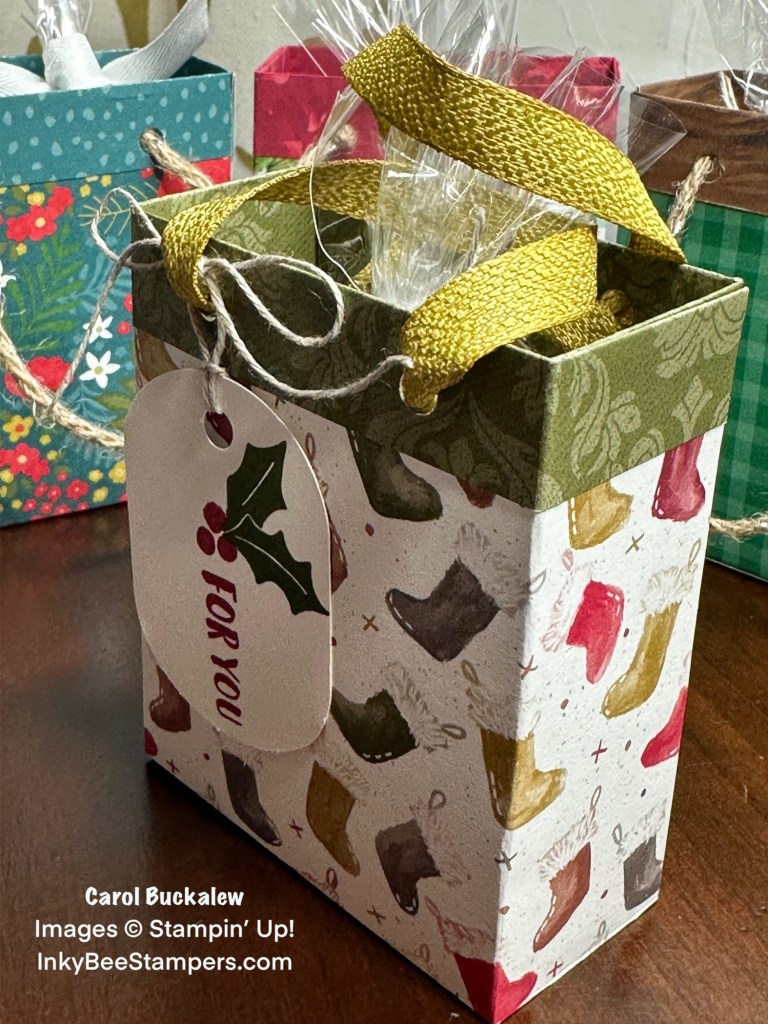
I had a lot of fun creating these small gift bags! These gift bags would be perfect to hold a jewelry box, treats, gift card, or any small item! What would you put inside of this cute little gift bag? You can download the pdf tutorial for this project by clicking on the image below.
December Paper Pumpkin Kit – All The Best
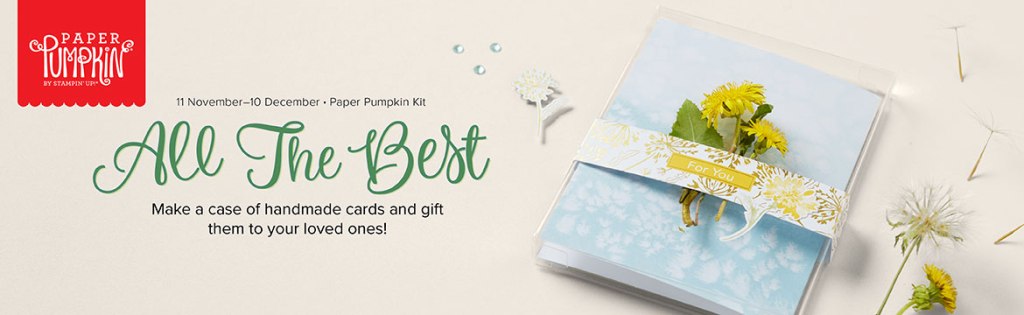
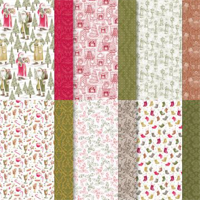
Send a wish to all your loved ones with the December Paper Pumpkin Kit! It comes with nine card fronts, three each of three designs, and nine coordinating envelopes. It has paper pieces detailed with gold foil, embellishments, an all-occasion stamp set, and an acetate box where you can store your finished cards! You can gift the kit itself or the finished product in the acetate box; either way, it’s the perfect last-minute gift for any occasion.
ACETATE BOX
The All the Best Paper Pumpkin Kit comes with an acetate box that fits your finished cards and envelopes! This makes easy storage of a finished product or allows you to gift your cards to someone. The kit also comes with a belly-band, so you can add your own personal touch to the box. Subscribe by 10 December to make a handmade gift for those you love.
GOLD FOIL DETAILS
The paper pieces in the December Paper Pumpkin kit have gold foil detailing. Whether it’s an elegant boarder, or woven into the floral artwork, it’s a detail that will surely catch your recipient’s eye! It’s the perfect way to take any paper craft to the next level.
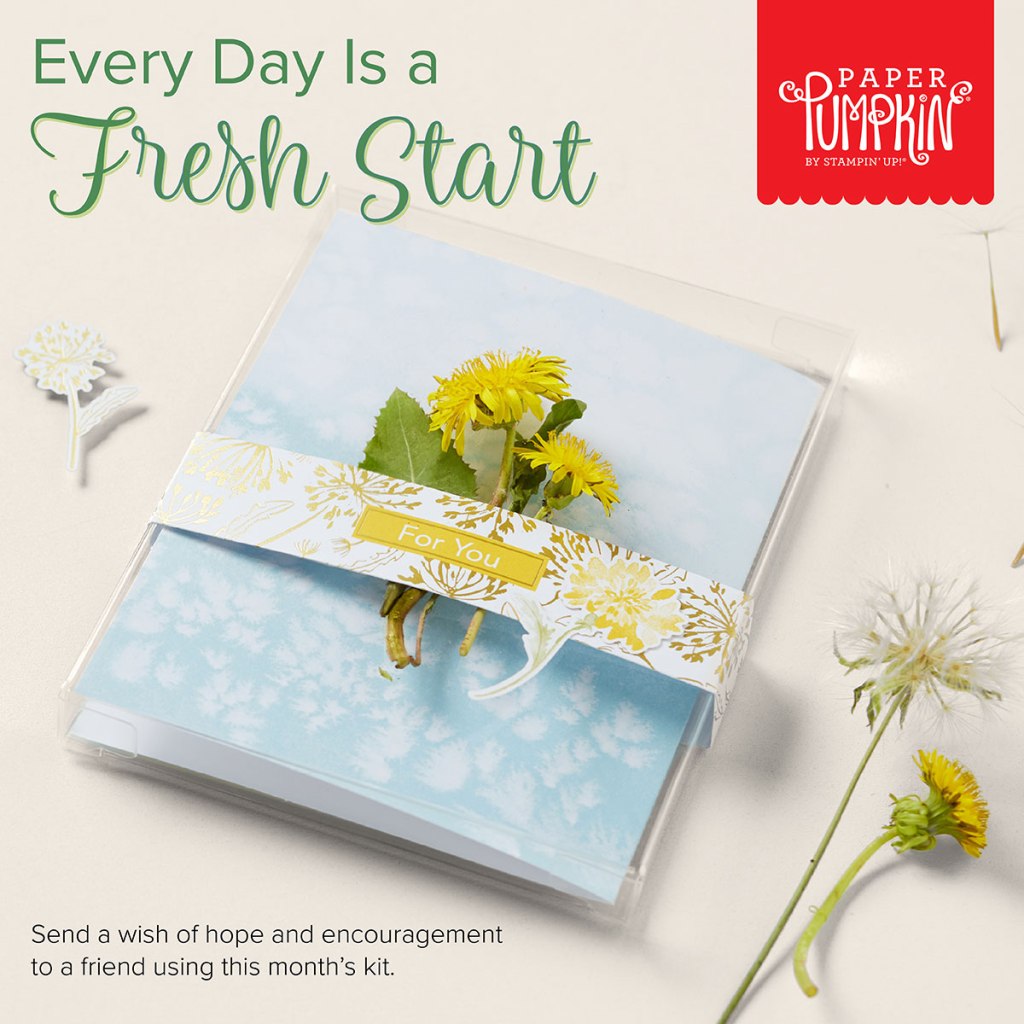
HAND DRAWN ARTWORK
The beauty of the December Paper Pumpkin Kit lies in the hand drawn artwork. The bright blue skies and elegant yellow flowers compliment the different design elements perfectly. It’s a simple yet sophistacted design that will catch any recipient’s eye!
This kit includes:
- 9 cards; 3 each of 3 designs.
- 9 coordinating envelopes.
- 1 Acetate box to fit cards and envelopes from the kit.
- 1 Pebbled Path Stampin’ Spot.
- 1 photopolymer stamp set.
- Embellishments.
- Specialty gold foil die cuts.
- Enough adhesive to finish the project.
- Finished card size: 4-1/4″ x 5-1/2″ (10.8 x 14 cm)
- Coordinating Stampin’ Up! colors: Balmy Blue, Crushed Curry, gold foil, Old Olive, Pebbled Path
You can view the flyer for the kit by clicking here.
Paper Pumpkin kits are such a great option. All materials are included in each kit along with instructions on how to assemble the projects. The kits are a great for new paper crafters or if you just want to dive in and start creating! Plus, you can pause and restart your subscription at any time. Ready to subscribe? Click on the photo below to start your Paper Pumpkin subscription today!
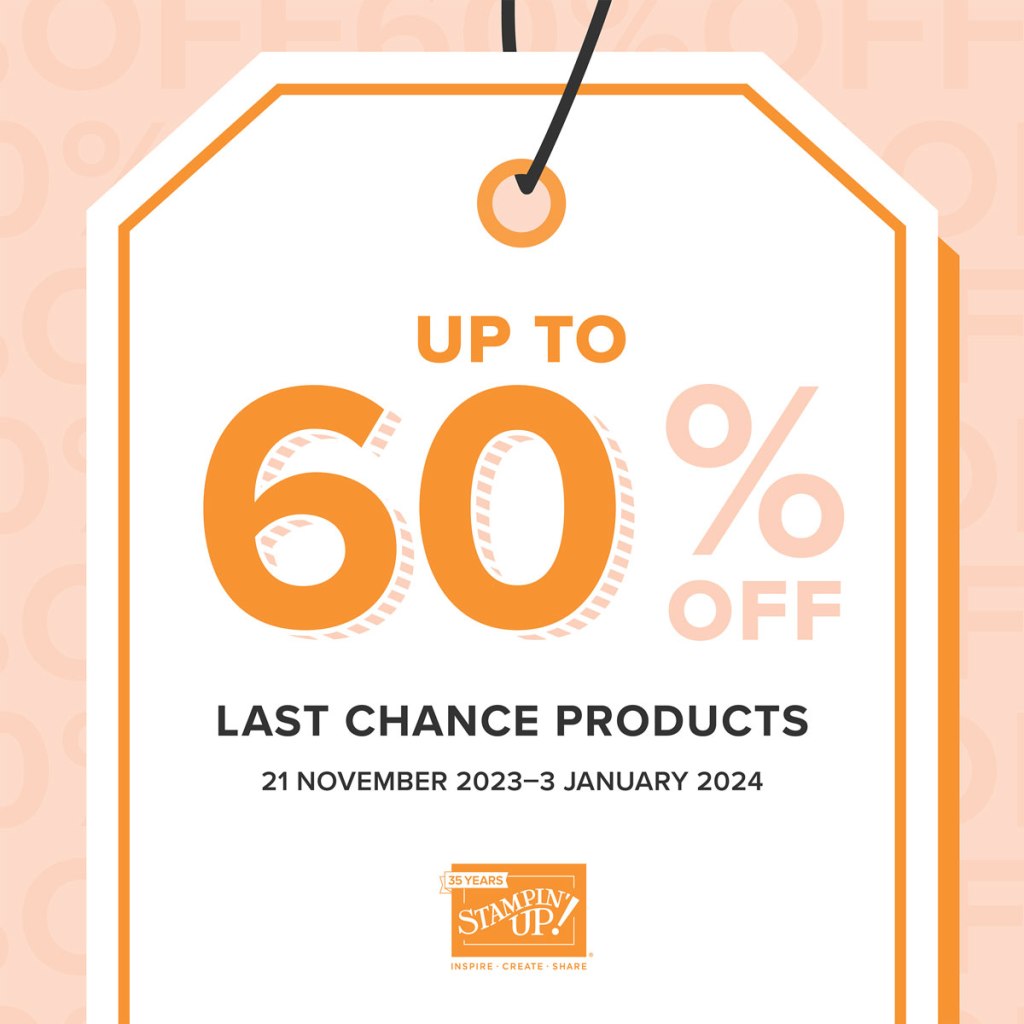
Last Chance Products – Up to 60% Off!
The September–December 2023 Mini Catalog is retiring soon! It’s bittersweet to say goodbye to a Stampin’ Up! catalog, but I’m looking forward to all the new products on their way—and I hope you are, too!
From November 21, 2023 through January 3, 2024, you can stock up on your favorite seasonal products and save up to 60% on essential craft supplies! So, what are you waiting for? The selection of Last Chance Products will only be available while supplies last. If there is something you have had your eye on…grab it now!
Here are some things to know about the Last Chance Products Sale:
SALES PERIOD:
Starts: 21 November 2023 at 12:00 a.m. (MT)
Ends: 3 January 2024 at 11:59 p.m. (MT)
- Not all items on the Last Chance Products List will be discounted and this varies from one market to another.
- All products are available while supplies last, and there are no purchase limits.
- Discounted items can be added to a Starter Kit and redeemed as a 50% off item or with Stampin’ Rewards.
- Only orders opened and closed during the promotion period apply.
- Stamp sets are not guaranteed during this promotion and are while supplies last.
- Discounts are automatically applied when sale items are added to any order, including Starter Kits.
You can view the Last Chance Products List for the Sep-Dec 2023 Mini Catalog by clicking here.
Ready to start saving? Visit the online store here.
New Kit Added to the Kits Collection – The Best Destination Kit

Plan a crafting getaway today with the all-inclusive The Best Destination Kit! This kit lets you make nine tri-fold cards with a colorful, nostalgic, travel vibe. Resort-hopping was never so easy!
Here is what is included:
- Enough supplies to create 9 cards—3 each of 3 designs
- 9 coordinating envelopes
- Best Destination Photopolymer Stamp Set
- One Gorgeous Grape Ink Spot
- Printed card bases, printed die cuts, adhesive, embellishments, and a clear block
- Finished card size: 5-1/2″ x 4-1/4″ (14 x 10.8 cm)
- Coordinating colors: Balmy Blue, Boho Blue, Cajun Craze, Calypso Coral, Coastal Cabana, Crushed Curry, Daffodil Delight, Early Espresso, Flirty Flamingo, Fresh Freesia, Gorgeous Grape, Granny Apple Green, Misty Moonlight, Pecan Pie, Petal Pink, Pretty Peacock, and Shaded Spruce
Click here to check out all of the kits in the Online Exclusives section of the Online Store!
Don’t Forget to Check Out the Online Exclusives!
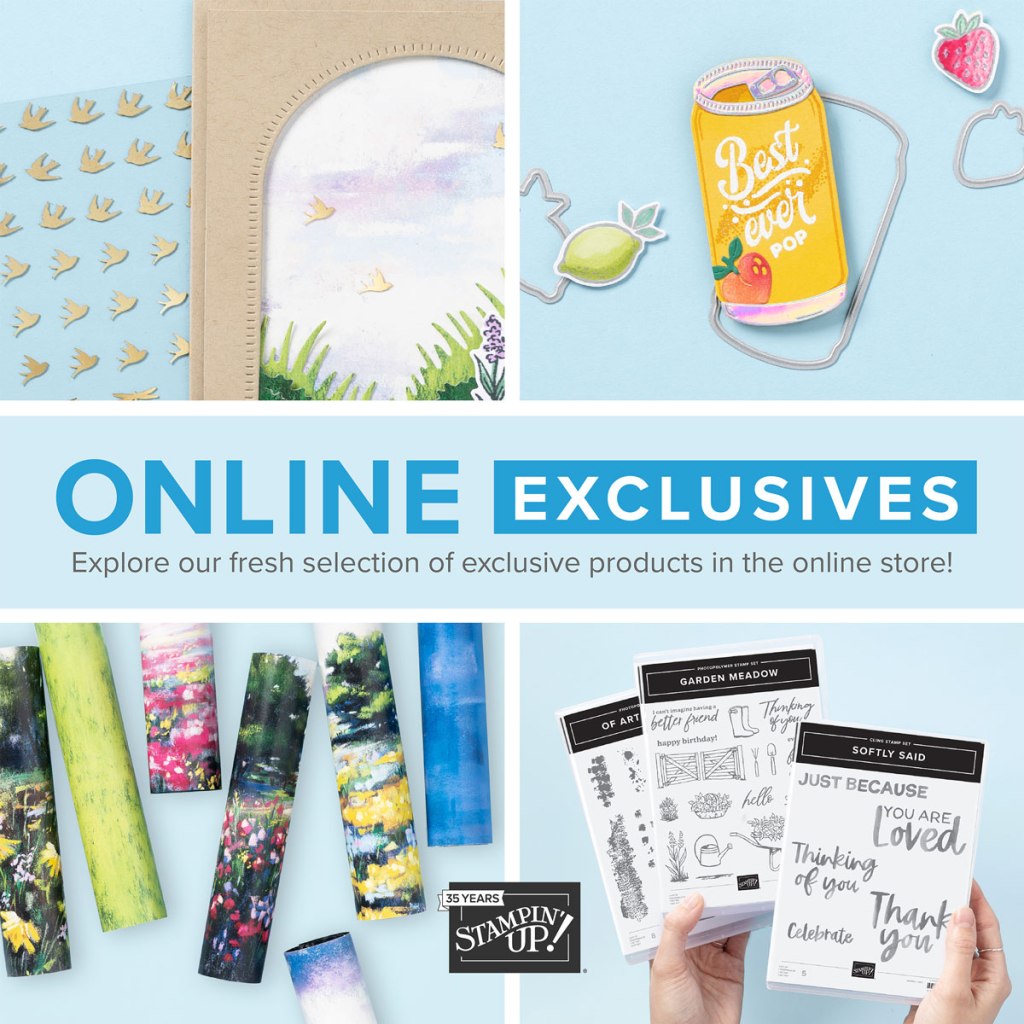
Stampin’ Up! Online Exclusives can’t be found in any catalog…you will only find these items in the online store! New items are being added all the time!
There is no end date for Online Exclusives! Some products will be reordered when inventory is low, and others will only be available while supplies last. This way we can offer even more new products throughout the year. New products mean new inspiration and new ways to express your creativity!
Click here for the flyer showing some of the new Online Exclusives that were released on November 7. More items were released than are shown on this flyer!
To visit the Online Exclusives section of my online store now, click here.
November Host Code

Use my current Host Code and receive a free gift from me valued at $8 when you place an order of $35 or more (before shipping and tax). If you place an order greater than $150, do not use the Host Code as you will be eligible for Stampin’ Rewards (but you will still receive the free gift from me!). Use my November Host Code – YX444U6C.
Products used to create today’s project are included below along with a link for each item that will take you to my online store in case you would like to purchase any of the items.


2 responses to “Stampin’ Up! Designer Series Paper Gift Bag”
Oh my goodness, these are so cute! Perfect for a holiday gift! 🙂
LikeLiked by 1 person
Thank you, Amy! Lots of fun to make, too!
LikeLike